Making the switch to DIY Cleaning products for a low tox household can be daunting. However, house cleaning the safer way is important for your health! So it is worth the effort to investigate your options. But, developing your own cleaning products requires a trial and error type of approach and it is the hit and miss nature that turns a lot of people off.
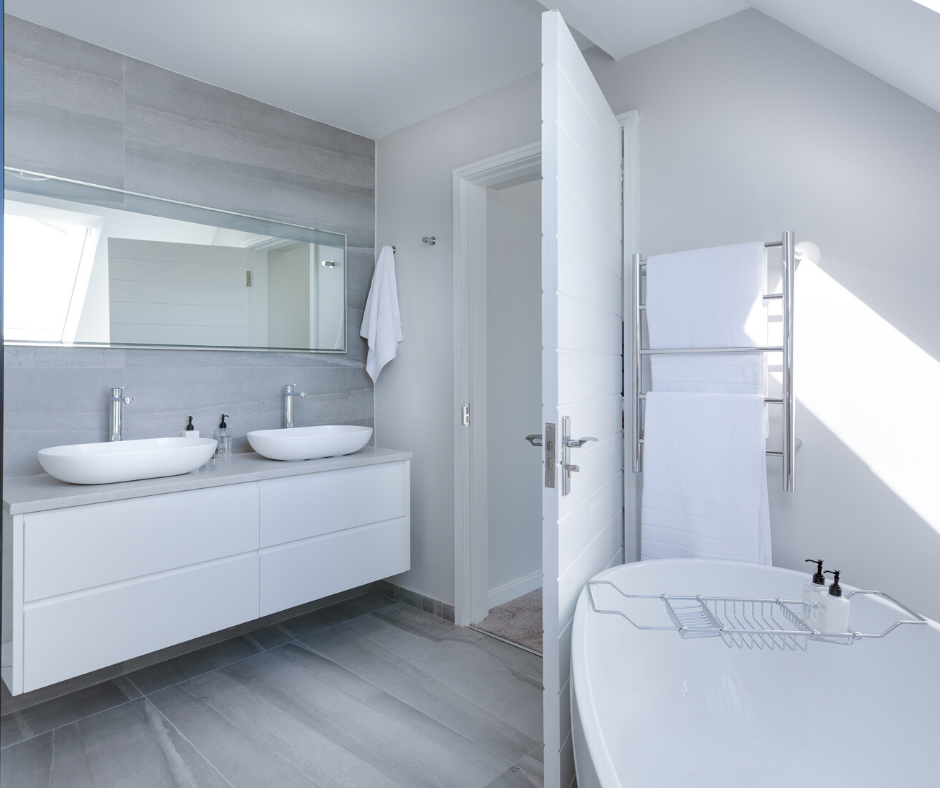
That is why we are writing about our experiences i.e. to take some of the guess work and experimentation out of the process for you. We care about this quest – for so many years the commercial manufacturers of cleaning products have been loading us all with unnecessary and potentially harmful chemicals – all in the name of a new aroma, a fresh smelling toilet and apparently super cleaning ability. But in reality, take a look at your house – is it any cleaner just because you buy the most expensive and nice smelling cleaners or are we all being conned? One room that we all need to keep clean for health reasons is the bathroom. I have trialled a range of DIY products over the last few years for bathroom cleaning and freshening and will share my 5 tips for DIY Bathroom Cleaning with you now.
But before I jump into the 5 tips, let’s think for a moment about the types of cleaning products and tools you need for cleaning the bathroom. As you can see below, there are a multitude of cleaners out there to choose from.
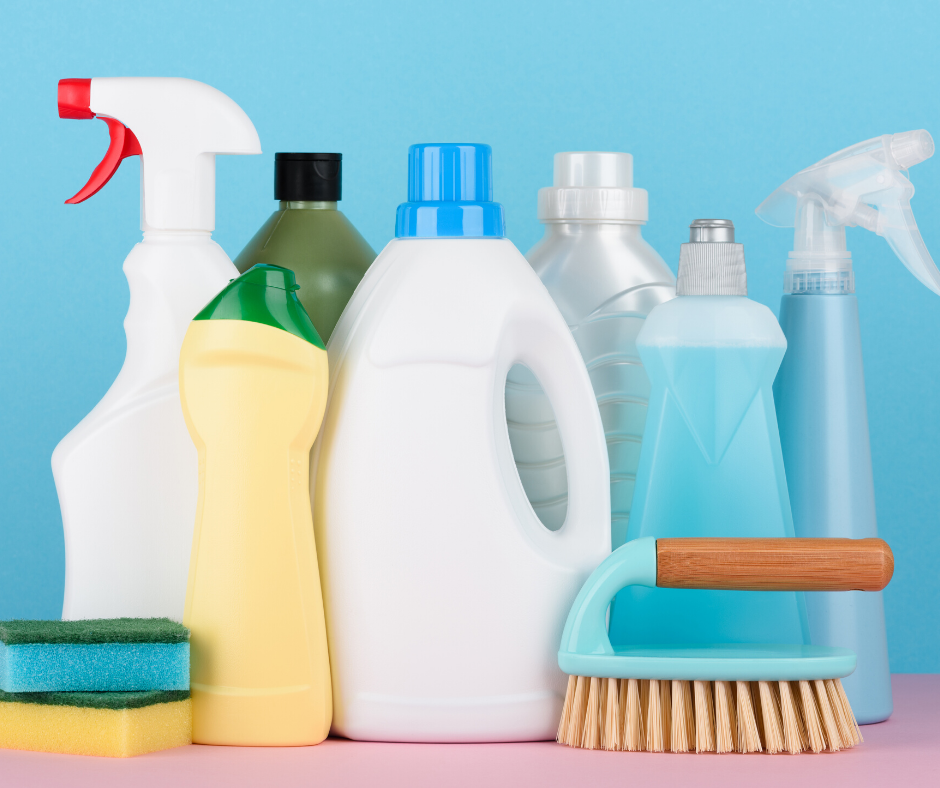
But we like to keep it simple, minimise the chemicals, use microbfibre cloths and brushes where possible and incorporate a good dose of elbow grease where needed!!
5 Tips for DIY Bathroom Cleaning
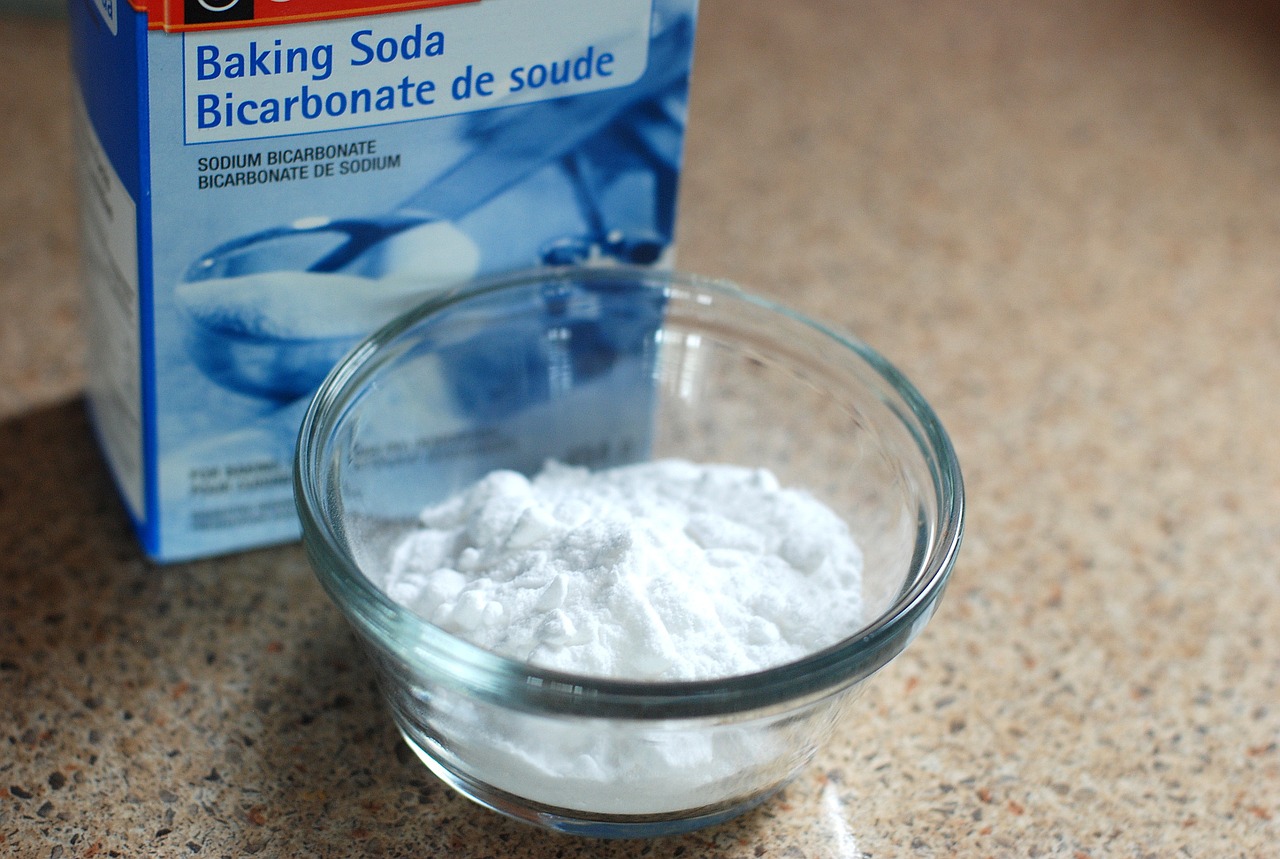
Tip #1 The power of the fizz!
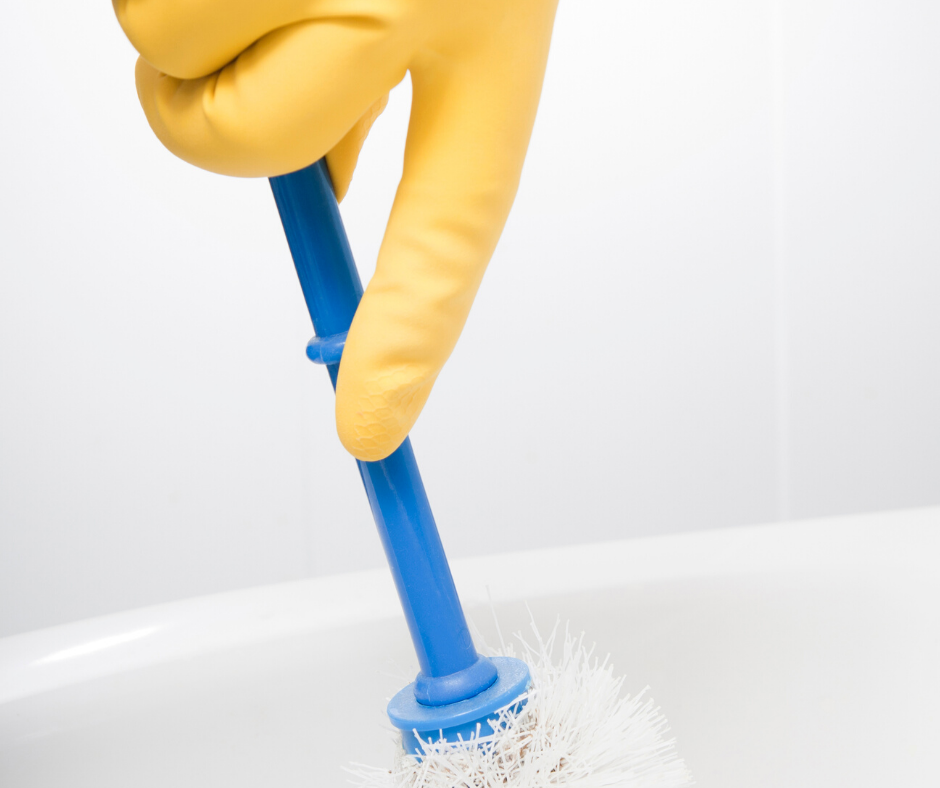
My first tip is about making your own bathroom ‘fizz’ that will give you the cleanest toilet ever. This is one of the simplest and yet spectacular cleaning processes you can do with two basic ingredients: sodium bicarbonate (purchased in a supermarket) and citric acid – you are best to buy this from an ingredients supplier as it will cost you a fortune if you buy it from the supermarket. I buy 5 kg at a time. My current tub has lasted me for 15 months and only cost me around $35. I usually mix up about a cup with the following ratio: 70% bicarb and 30% citric acid.
Mix together well, keeping it dry until you are ready to use it. I usually place the mixture into a small stainless steel bowl. To apply to your bathroom surface, such as a shower recess or a basin, slightly dampen a small scrubbing brush and dip into the mixture. It will start to fizz, so work quickly to apply the mixture on the surface. You may need to add more water to get it going if your basin or tiles are dry. But once you do add water, get going with that elbow grease and start scrubbing. The volcano effect that is the result of this mixture being moistened is safe and it is a great way to remove stubborn stains and mould build up.
For your toilet try making some fizzy tablets by mixing up 1- 2 cups of the mixture (keeping to the same proportions 70% bicarb, 30% citric acid) and adding approximately 15-20 grams of oil. I use a liquid coconut oil but other oils are fine. The oil just helps cake the mixture together so you can set it into tablets. I do this by adding the mixture to silicon trays.
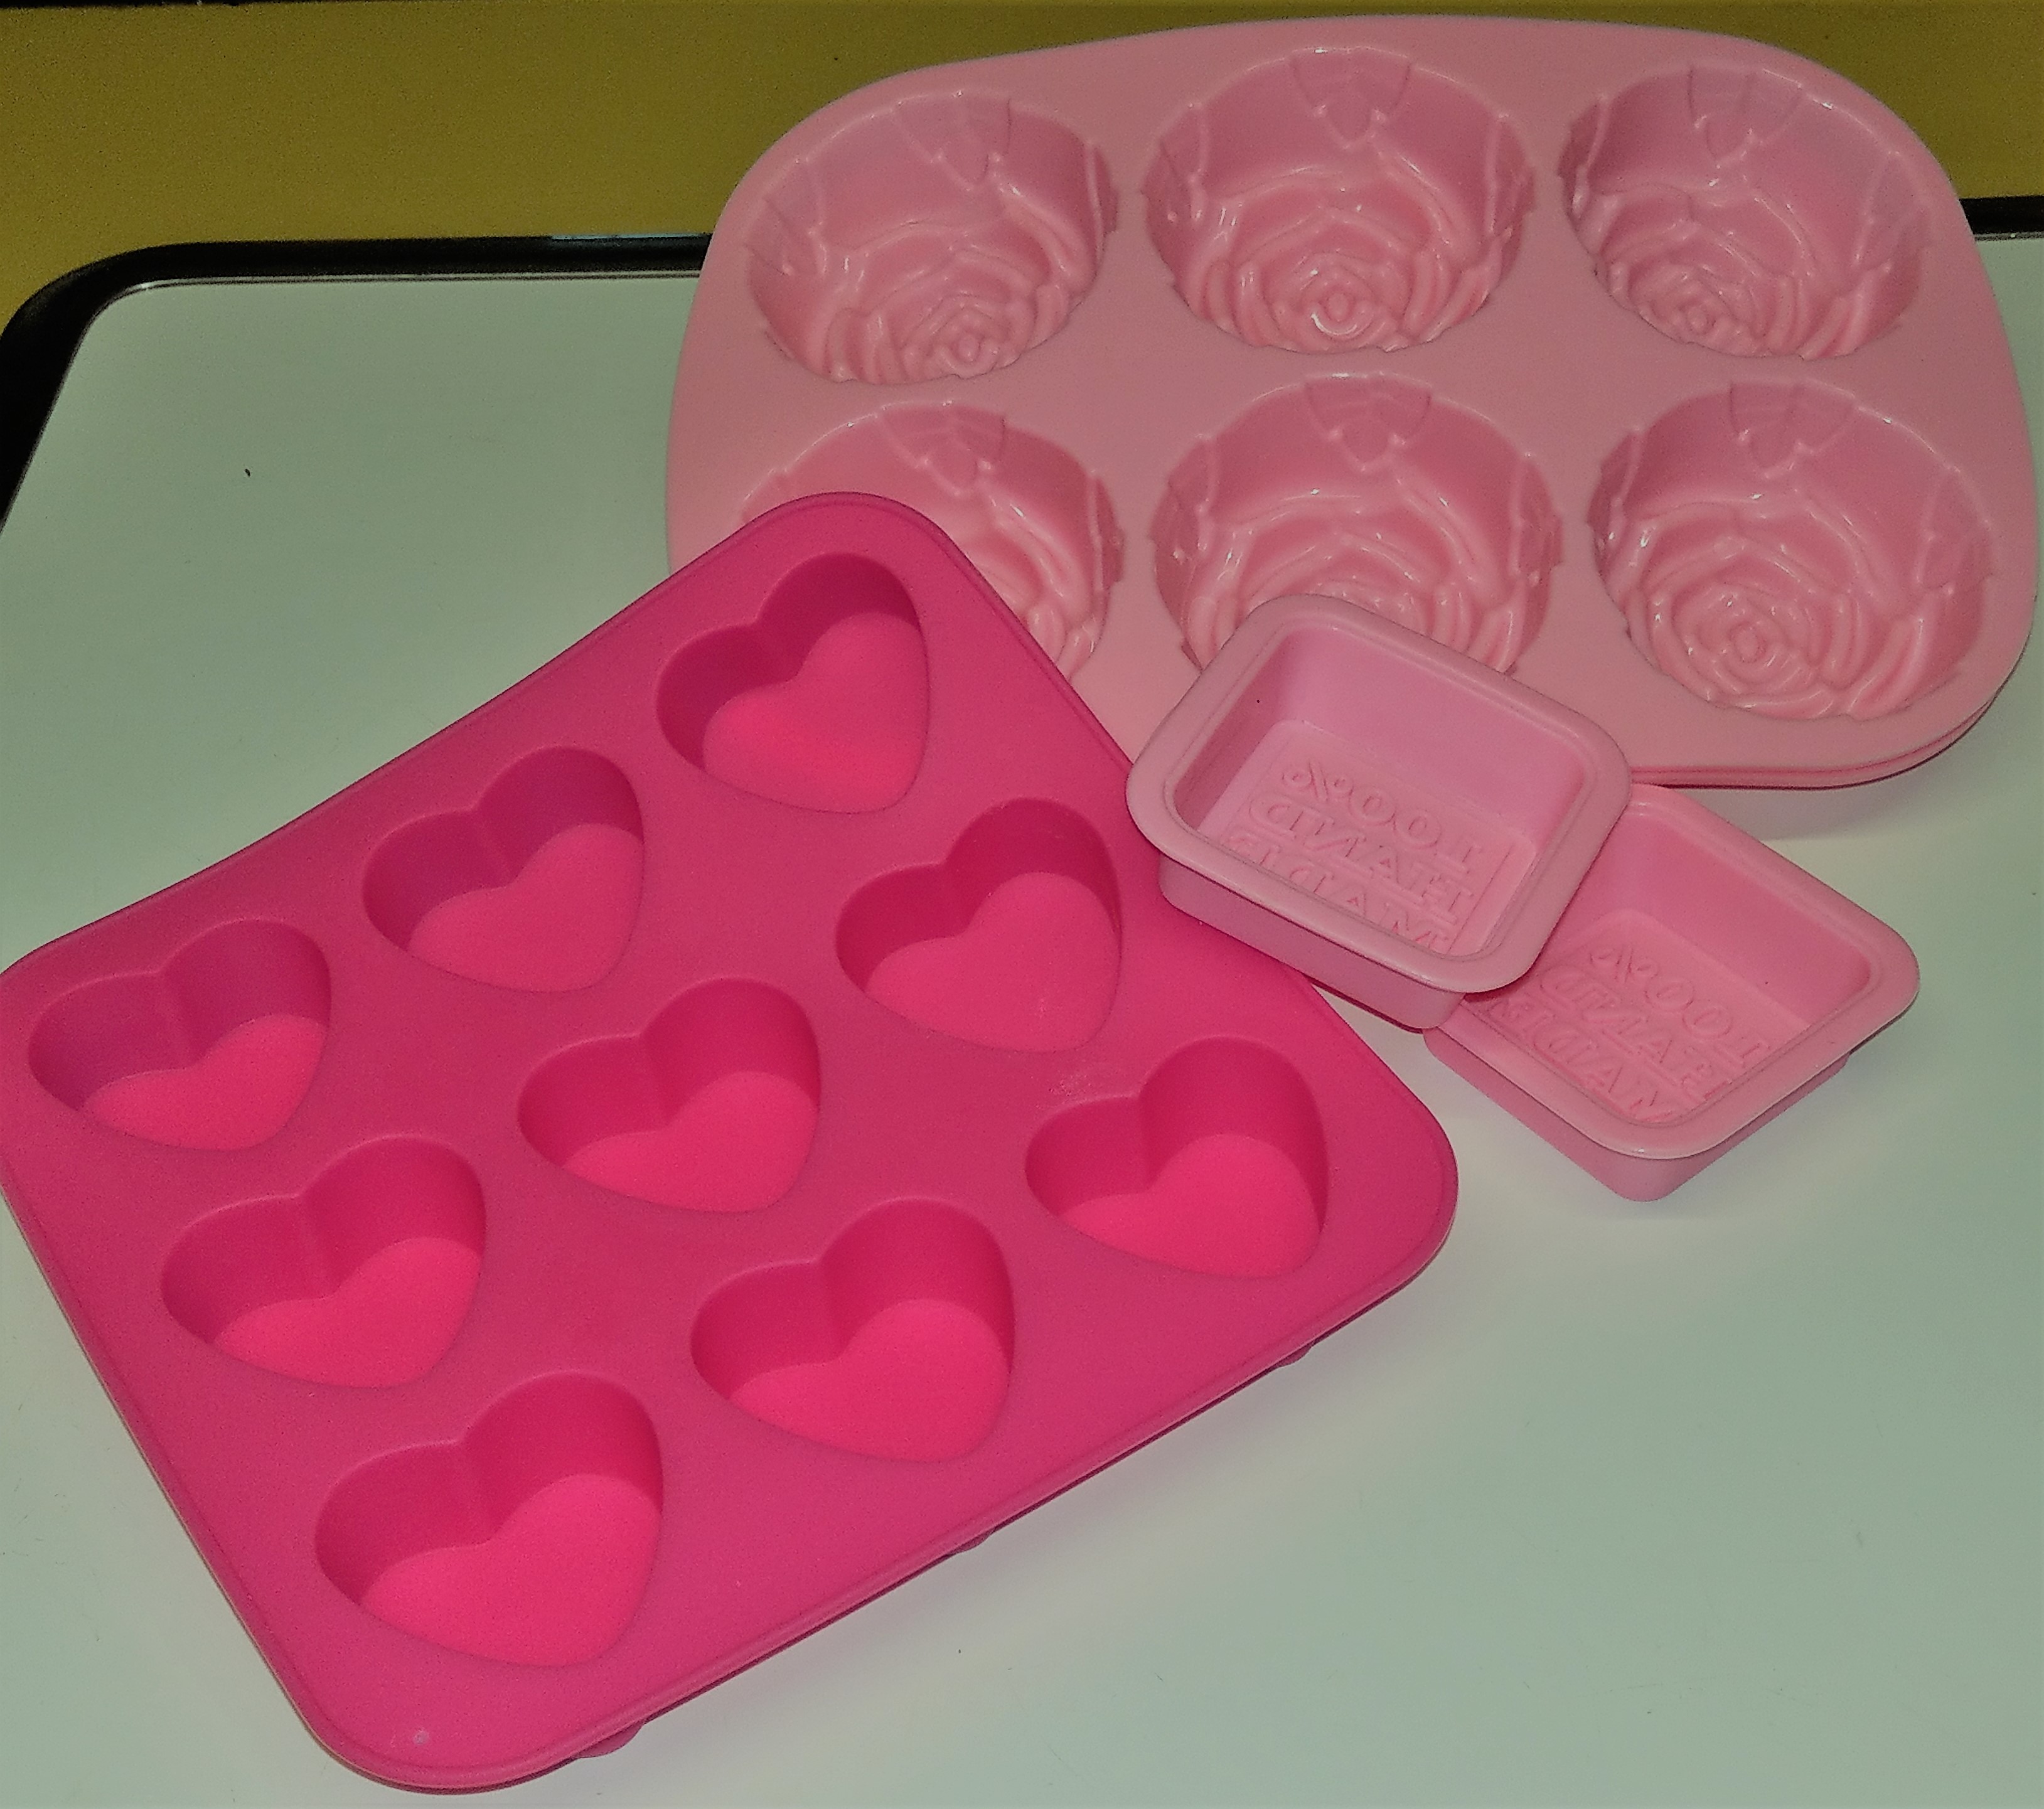
Leave the mix in these trays for 24 hours and when they feel hard tip them onto a piece of paper, and leave for another 24 hours. When they feel both hard and dry, place them into an airtight container. Be careful with this – if they are not dry, the top will pop off the container!!!! To use the tablets, just add a drop or two of Peppermint oil to a tablet and drop it into your toilet. Once it starts to fizz use your toilet brush to clean the toilet. The end result is a clean toilet bowl that smells great!
Tip #2 Spray Cleaners
My second tip is about the spray you use in the bathroom and my tip is to keep it simple! I have always wondered why I need different sprays in the kitchen and bathroom – now I know why – it’s called marketing and it helps the big companies make more money. But in reality, you only need one spray to clean the whole house – although there are a few caveats that I will talk about in a minute.
You may be wondering why I mention sprays after I have just been singing the praises of the bathroom fizzies. Yes they are great but sometimes you just need to spray and wipe – walls, glass in showers, toilet seats etc.
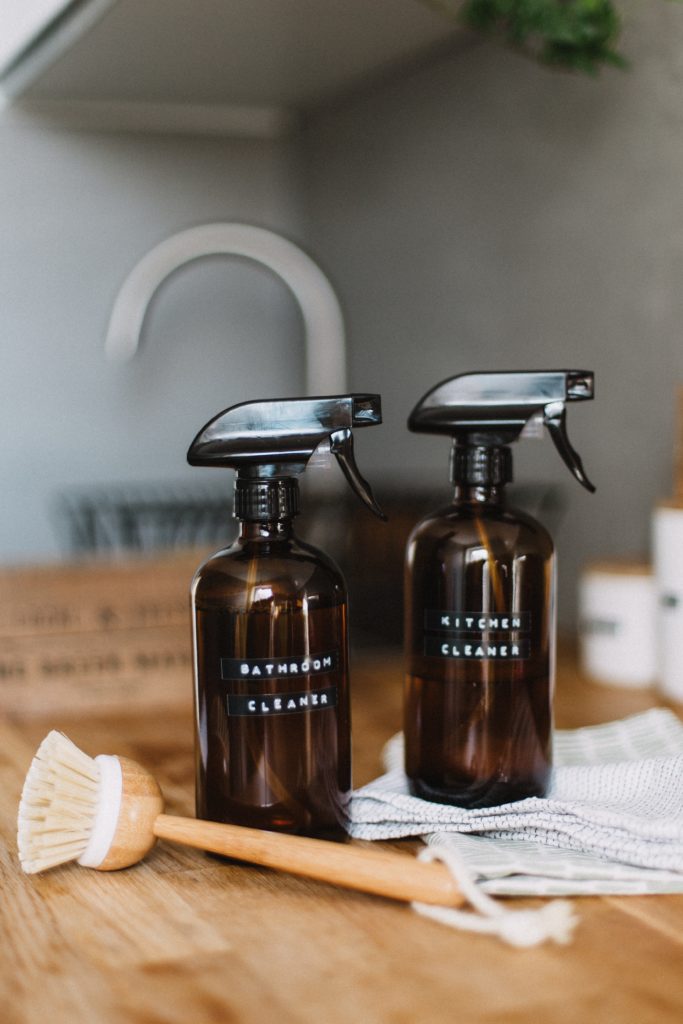
The simplest spray you can make for yourself is with water and Lemon Essential Oil – add about 30 drops into a 300 ml bottle. Shake well before spraying. Lemon oil is known for its cleaning properties and will leave your surfaces smelling fresh and clean.
I mentioned a few caveats about using this simple spray. Here they are:
Tea Tree Oil: If you would like to have some extra assurance of disinfection as you clean, add some Tea Tree Oil to your spray. This oil has antimicrobial properties.
Mouldy Showers: If you have a mould problem in your house, add around 30 drops of Clove Essential Oil to your spray. This oil has antifungal properties. If you can’t move the mould, you can also add some hydrogen peroxide ( 3% strength) to your mix. I would mix up 250 ml hot water, 100 ml Castile soap and 125 ml hydrogen peroxide together. Add 20 drops each of Lemon, Tea Tree and Clove Oils to the mixture. Spray onto a wet surface, leave for a few minutes and then scrub off. You can use an old toothbrush to get into difficult spots. Discard what is left of this mixture.
Glass Cleaning: If you want to clean glass in the bathroom, including mirrors and shower screens, add vinegar to your water and Lemon Essential Oil mix. I usually use a ratio of 50:50 water and white vinegar, then add the 30 drops of Lemon Oil.
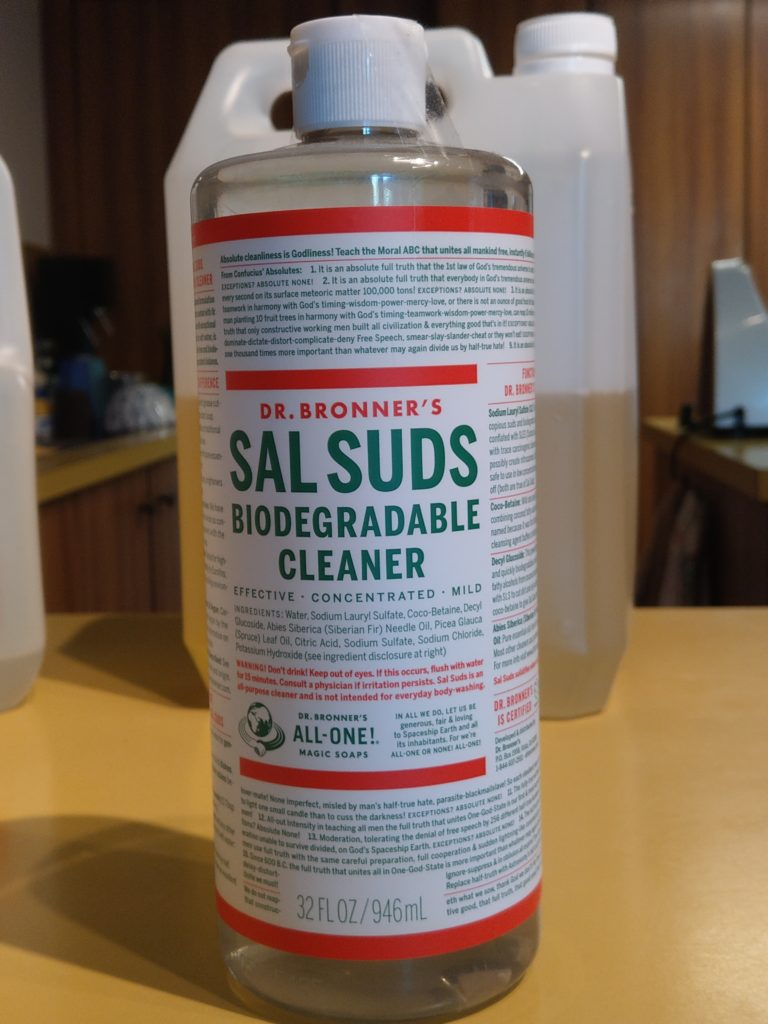
Sal Suds: If you are keen to see some ‘suds’ as you clean, I would add a very small amount of Sal Suds to your spray. I say a very small amount because this is powerful stuff. Just add a few drops to a 300 ml bottle. This is great for cleaning the floor if you are using a conventional mop and bucket.
Note: Many recipes for household sprays include vinegar. I used to use vinegar in my sprays but grew tired of the house smelling like a pickling factory. Using water works fine, particularly if you use the right tools- which leads me to my next tip…..
Tip #3 Cloths and brushes
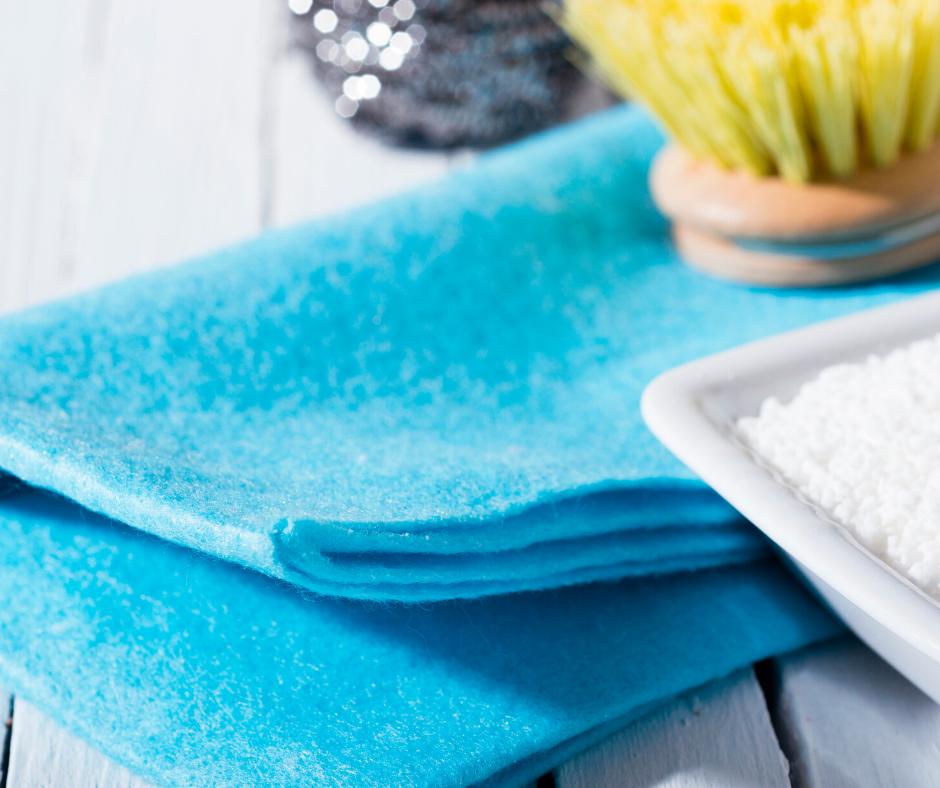
This third tip is about the mechanics of cleaning. Lots of dirt and soap build up can be removed by physical agitation. Of course you want to clean and disinfect too. But much of the heavy lifting in terms of bathroom cleaning can be done with water and a brush or a microfibre cloth. My bathroom microfibre cloth has alternating rough and smooth sections on it which allow me to rub the surfaces of my sink to remove any build up of dirt.
I also use a scrubbing brush, old toothbrushes and any other old brush I find around. For example, cleaning the drainage hole in the sink can be done with a thin bottle brush. Avoid using stainless steel scrubbers on porcelain surfaces if you can because they can be damaged allowing them to be more easily affected by mould etc.
Tip # 4 Freshening the Bathroom
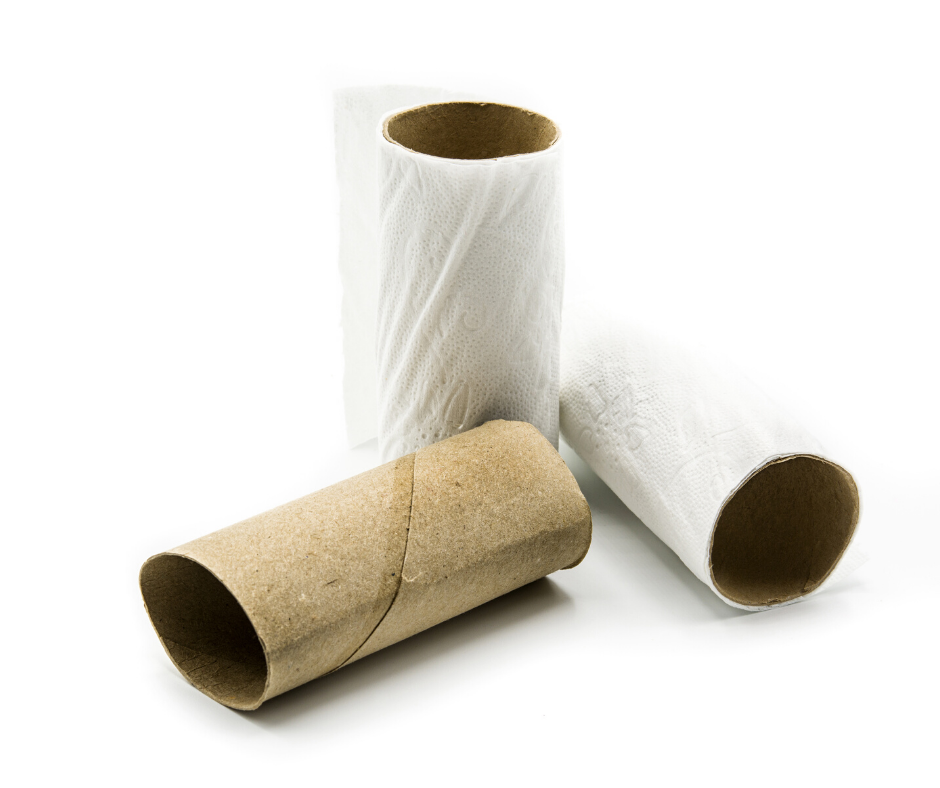
This tip is about making simple air fresheners that are low cost and definitely an improvement on those commercial spray fresheners. The simplest thing you can do is to place 1-2 drops of Peppermint or Lemongrass Essential Oils onto the inside of your toilet paper roll. The cardboard will absorb the oil and diffuse it into the air in the room for a quick lift! I do this every time I clean the toilet, just before we have guests arriving or as required (if you know what I mean).
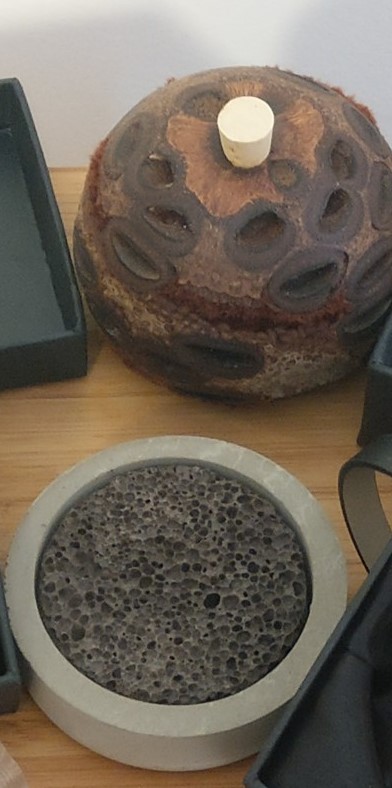
If you want to get a bit more sophisticated you can use a small diffuser. I have one of these on the window sill in my bathroom.
If you would like to have a spray air freshener on hand then try our DIY Room Spray Recipe.
If you make your own spray you can be as creative as you like with your aromas- you can make a different spray for every bathroom – I have 3 bathrooms so I make a variety of sprays. However, I really like using Lemongrass Essential Oil in my Sprays as it has antimicrobial properties – and that is a bonus in the bathroom!
Tip # 5 Steam
This final tip may surprise you because steam can often cause problems in the bathroom, because mould loves to grow in a moist environment!!
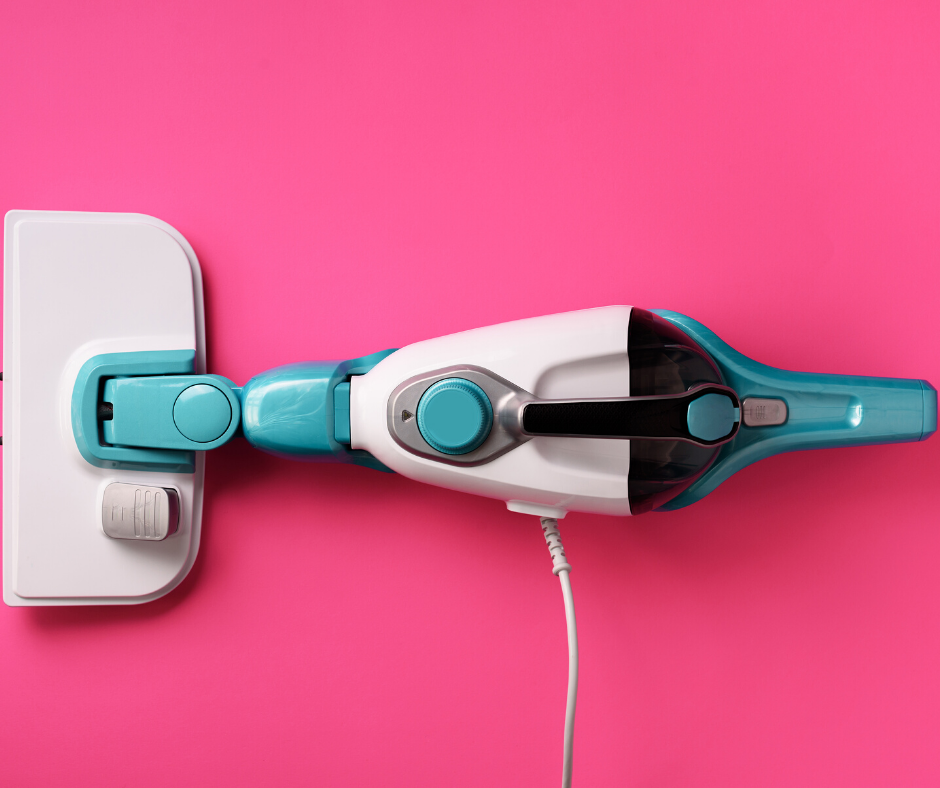
But I am not talking about steam from the shower. I am talking about using a steam cleaner. I use a steam cleaner to clean my floors, including in the shower recess. If you have an attachment for your steam cleaner you can use it to clean walls as well. It is a great way to clean and disinfect the bathroom without using any chemicals at all. If you want more detail about steam cleaning you might like to read our post called 3 Reasons to Use a Steam Mop to Clean Your Hard Floors.
Summing Up
It is not difficult to clean your house the DIY way, it will save you money and reduce the toxic chemical load in your house. Not all of my tips are about using Essential Oils but you will notice that you can use oils to create a wonderfully clean smelling bathroom environment in a safe way.
Good luck following our tips and let us know how you go!
What Next?
If you are ready to enter the world of Essential Oils and you decide to go the doTERRA way, I would love to help you get started and support you if you want some help. Here is how you can do this: go to my doTERRA website to find out about the range of oil and oil based products available for purchase. You can also sign up to become a member on this site. Once signed up you can purchase oils for wholesale prices! But if you would like some more information click on the Contact Me on the doTERRA website and I will respond to your questions.
We hope you will join us at Helpful By Nature by subscribing to our email list. We would love to hear from you, take your questions and provide answers if we are able.

Until next time,
Gillian (and Andrew)