We have had a wedding in our household in recent weeks. Weddings are such big business these days aren’t they? But they really don’t need to be. The theme of our son’s wedding was definitely ‘ how to save money’. That doesn’t mean it was a cheap wedding, it meant that they searched for ways to avoid wasting money. One of the areas where they were keen to save money was on the cake. It was decided that the cake would be the dessert at the wedding dinner. So, the cake needed to be big enough to feed 50 people. Now in my day, the wedding cake was a fruit cake iced with very thick fondant. As we started thinking about wedding cakes I was told very quickly how out of date I was. In fact since ‘ my day’ the wedding cake industry has morphed through a whole range of fads including croquembouche cakes, chocolate mud cakes and cup cakes.
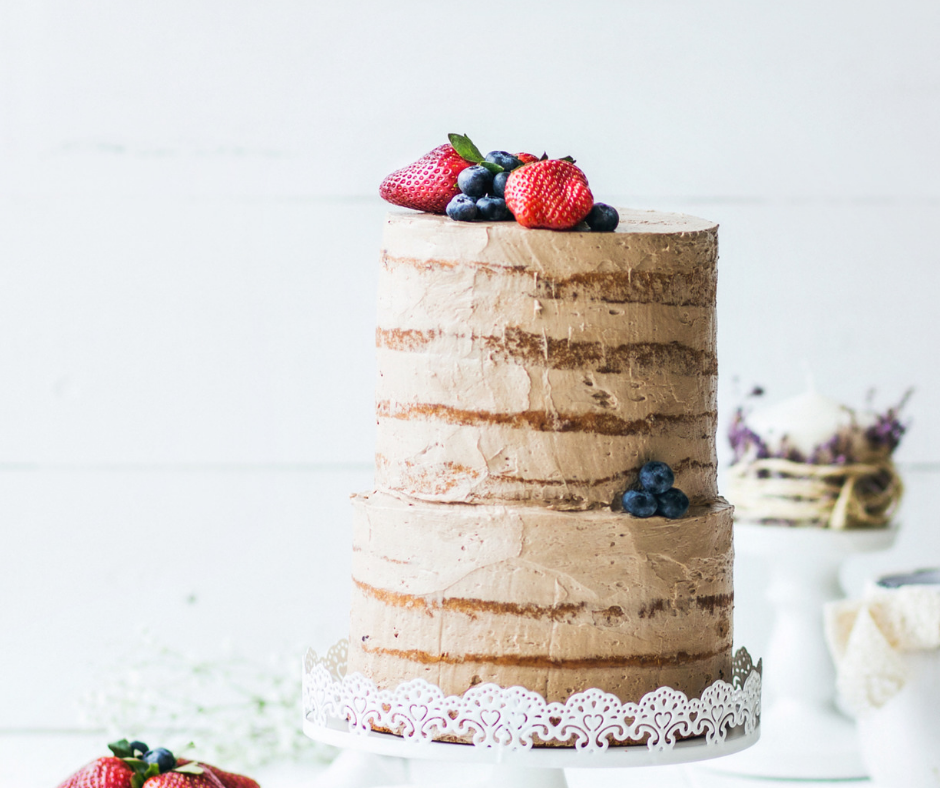
Now the latest craze is to have a Naked or Semi Naked Cake. I had never heard of this trend until my son showed me lots of wedding cake websites. And as we searched these sites we both became horrified at the cost – not only for the making of the cake but for delivery. The cost of these cakes, for a wedding with 50 guests ranged from around $400-$700 with $80 delivery!! So, the idea about making our own was born.
That was six months ago and now, I am pleased to say that the wedding is over and the cake was a success.
Would you like to read about how to save a bomb on wedding cake making?
Read on…..
This page contains affiliate links to products. We may receive a commission for purchases made through these links.
How much cake will you need?
The wedding cake sites will tell you roughly how much cake you need per person. Of course there are many variables that impact the decision you make about cake size. However, if you would like some guidance check out this website called Easy Weddings
In our case, because the cake was dessert, not just afters, we decided that we needed a bit more than the recommended amounts. We decided on 2 x 10 inch cakes and 1 x deep dish 8 inch cake.
What type of cake?
From what I could see from the many wedding cake sites, the naked cakes are often butter cakes. I don’t really think it matters too much what type of cake you choose but if you are planning on making large quantities you need to choose a recipe that you like and work out what quantities you need to make i.e. how well will the recipe scale up? The decision about the type of cake was made by the bride-to-be. She wanted a Red Velvet Cake. If you search for a recipe for this cake you are likely to only find cup cake recipes. So if you are interested, check our recipe out – it is written in quantities suitable for large wedding cakes and includes instructions for cooking so that the end result is moist.
What type of frosting?
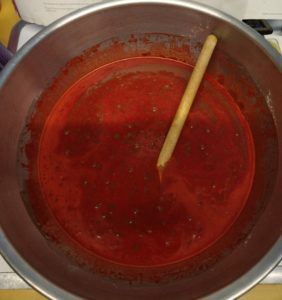
The choice of frosting proved a little difficult to make. I tried a number of recipes and was disappointed. Some were based on egg whites, others on butter. The red Velvet Cake is traditionally served with a Cream Cheese Frosting. We did not want to use cream cheese because we knew that we could not refrigerate the cake until the wedding dinner. So I experimented with a Butter Frosting with white chocolate and that was a success. My recipe includes quantities for icing a large wedding cake.
Cooking the Cakes
What happens when you cook a cake in your oven? Does the cake rise evenly or do you end up with a dome shaped cake? Mostly, cakes have domes. This might be fine for normal use. But if you are making a cake that will be iced and decorated for a wedding, you are going to need the cake to rise as evenly as possible.
What do you think happened the first time we made our cakes? Yes, that’s right, they domed! The tops had to be cut off and all we had to do this was a big knife so you can imagine what happened. We lost half the cake and the cake was cut very unevenly. Frankly, it was a disaster. So we went back to the drawing board.
No More Cake Domes
We solved the problem quickly and inexpensively. There are four things you can do to minimise the cake dome and here they are:
1. Avoid beating the cake batter too much during mixing. Obviously you need everything to be mixed together evenly, just avoid adding too much air to the mix.
2. Reduce the cooking temperature. The recipe we had for the Red Velvet Cake suggested cooking the cake at 160 C in a fan forced oven. I reduced the temperature to 140 C. This meant that the cakes took a long time to cook but it also meant that the cakes were moist, there was no sign of burning and the cake did not dome!
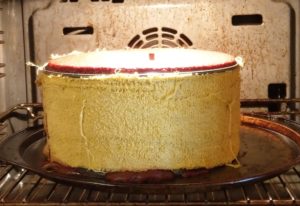
3. If you used the two tips above on their own, it is doubtful that you would avoid the dome completely. This next tip is the real deal maker!! Find an old towel that you are happy to destroy. Measure the length of the outside of your cake tin and the height of the tin. Cut two strips of towel to fit the cake tin, as measured. Just before pouring the cake batter into the cake tin, wet the towel so that it is soaking. Squeeze out excess water then wrap around the tin. Secure the towel with safety pins. This really does need to be quite tight because you don’t want the towel to slip off. Once you are happy with the fit, pour the batter into the tin and place the tin in the oven. You can then watch the magic happen as the cake rises with no dome. Once it reaches the top of the tin it may dome a little but by then you have enough cake to play with for your Naked or Semi Naked Cake. You will only have to remove a small slice from the top.
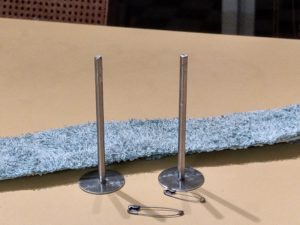
4. I can imagine at this stage that you are thinking that this is all too good to be true. I know I was when I first read about this ‘hack’. But please see for yourself – our ‘in oven’ photos speak for themselves!! But for the deep dish 8 inch cake I decided we might need more than the towels because there was a lot of cake in the tin and it had a long way to rise. So I purchased some Heating Rods for cakes. I used these as well as the towel and slower cooking and the cake was a success!

Preparation of the Cake for Decorating
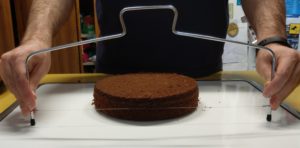
Cake decorating is not my thing and all of that (other then the making of the frosting) was left to my son and his bride to be. The main preparation was slicing the top off each cake. To do this we purchased a Cake Slicer. This worked well and they ended up with flat cake tops that were ready for icing. The slicer was also used to cut the 8 inch deep dish cake in half.

The trick for decorating the Naked or Semi Naked Cake is to make lots of frosting and be prepared to throw most of it in the bin! No I am not joking. What actually happens is that a great deal of frosting is placed on the top of one cake, especially around the edges. When the next cake is placed on top, lots of the frosting is pressed out from between the cakes. This is then spread thinly around the outside of the cakes. In our case, because we were making a semi -naked cake, there was quite a bit if icing left on the cake. If you make a Naked Cake more of the frosting is wiped away. The layering process continues and if you wish to have frosting on top, a thick layer is smoother over the top layer. The cake is now ready for decorating.
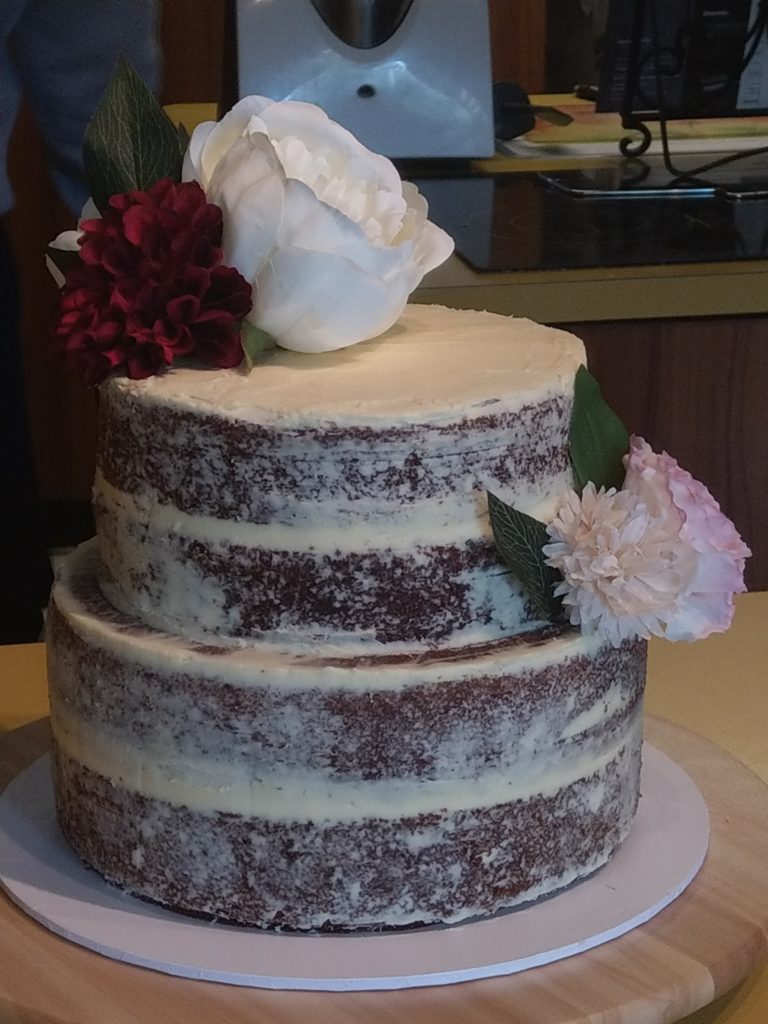
This picture below is our cake in its almost finished state.

And here it is, the finished product. They did a fantastic job didn’t they?
Transporting the Cake
I mentioned at the beginning that it could cost around $80 to have the cake delivered. I have to say the transporting of the cake did concern me a little. However, it was actually quite easy. the cake was placed on a solid cake board. We also purchased a large cake box made especially for transporting cakes and the cake fitted in easily. I held on to the cake in the back seat of our car and delivered it successfully to the restaurant. One thing to look out for though, is that the cardboard of the cake box is not very thick and so when you pick the cake up make sure you hold right underneath the cake.

We wish you every success with your Semi Naked Cake. It really is worth trying this yourself. You will save money, you will be satisfied with your efforts and if you have to practice a few times you will please lots of people by asking them to eat the practice cakes. Andrew took our practice attempts to his workplace and they were appreciated by many people. In fact they wanted us to keep practicing so they could keep trying!!
What next?
We hope you will join us at Helpful By Nature by subscribing to our email list. We would love to hear from you, take your questions and provide answers if we are able.
Until next time,

Gillian (and Andrew)


