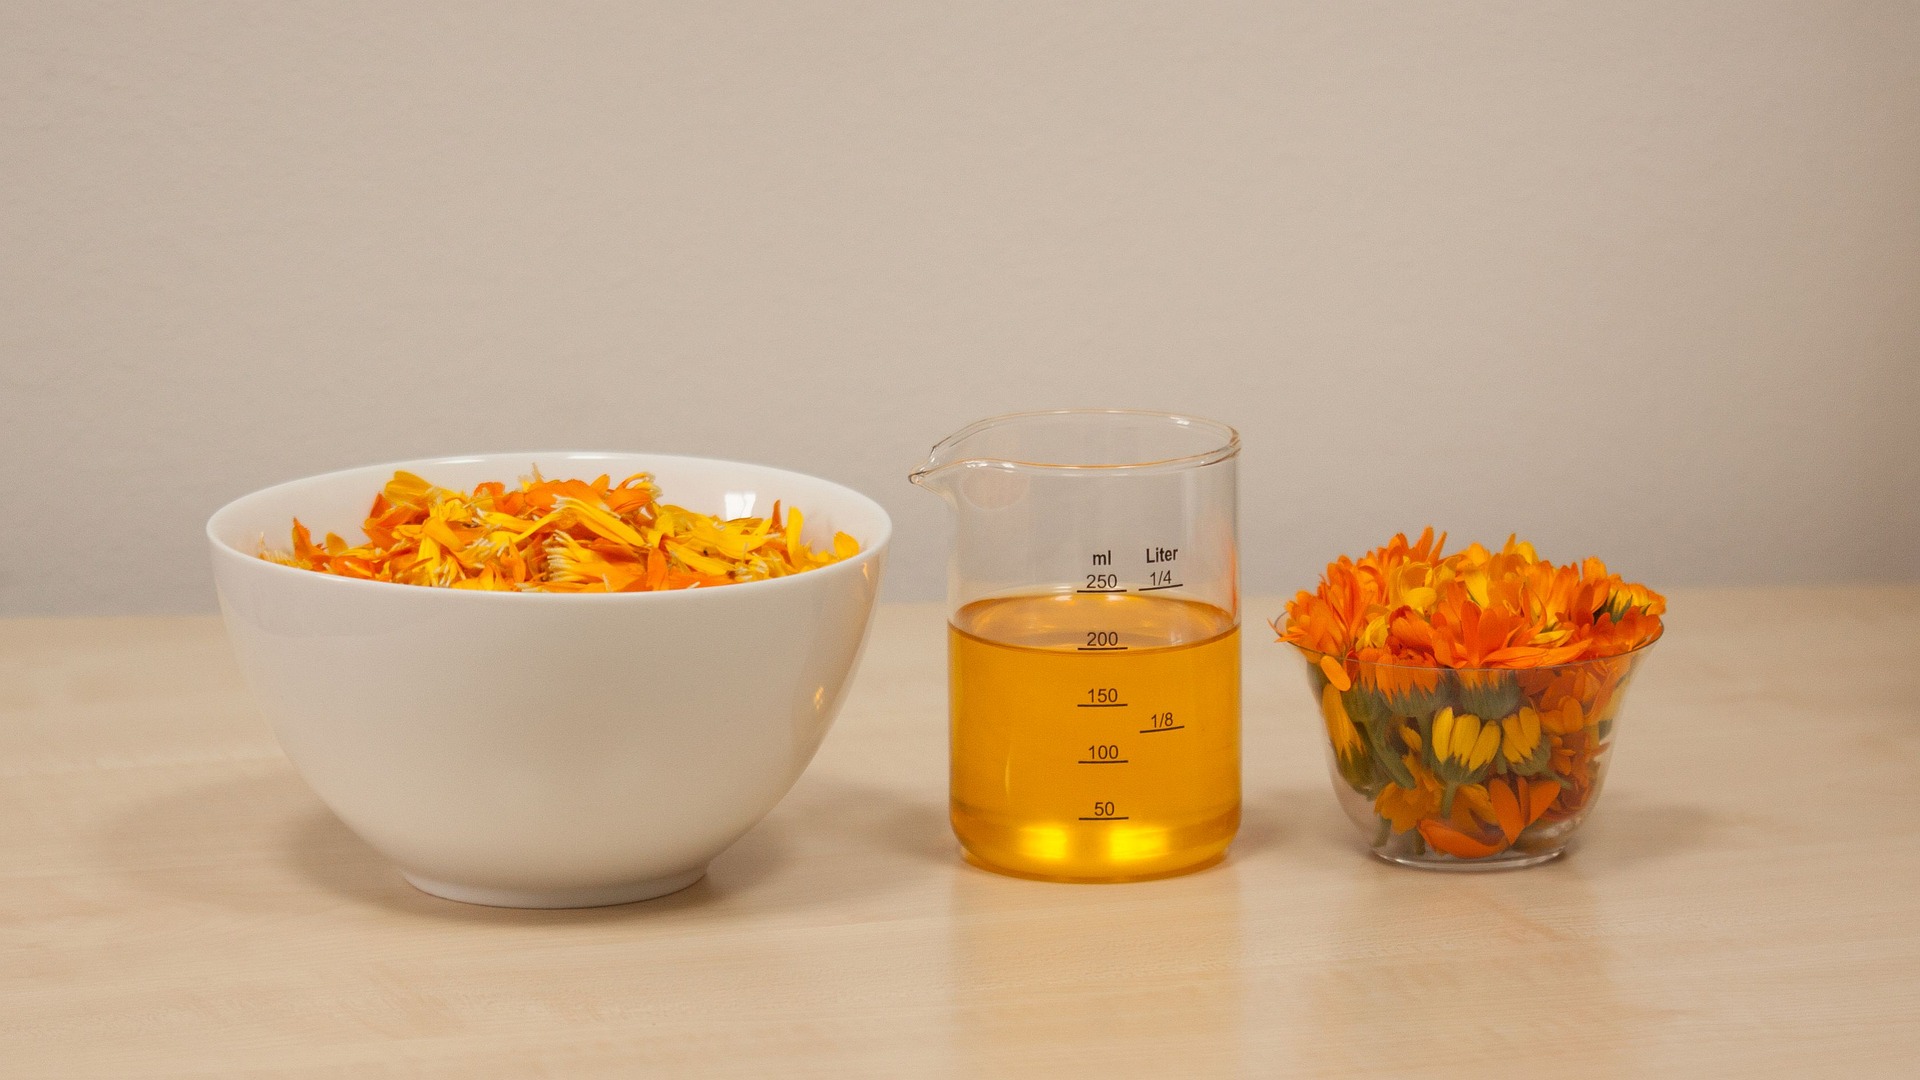
In my last post about DIY with Essential Oils I outlined a plan of attack or the process I followed to decide what DIY products with Essential Oils to make and how to do it. It is really just a way to help you decide where to start.
In this post I want to share some of what I did to get organised with ingredients and containers for your products.
* Before I go on I just want to let you know that I have added some links to my doTERRA webpage throughout this post so you can check out any of the oils I mention.
DIY Household Products – what can you make?
DIY household products is such a general term that I thought I might put some categories in place to help you. In reality you can replace almost everything you are currently using with homemade, safer products. And there are some common ingredients to a lot of these products that make it easy for you to get organised. I will help you with finding these ingredients in later posts. But for now, just to get your imagination going I will list just a few of the products I have made for cleaning and for personal care.
Cleaning Products
All purpose spray, laundry detergent, washing up liquid, dishwasher tablets, toilet cleaner, kitchen sink scourer, window cleaner, disinfectant, stove top cleaner, and shower spray.

Personal Care
Shower gel, foaming hand wash, hand sanitiser, soap, soap scrubs, deodorant, body scrubs (sugar based), eye serum, hair serum, perfume, face cream, body cream, hand cream, magnesium cream, beard oil, beard balm, facial toner, make up remover pads,sunscreen and Essential Oil mixes for a range of purposes.

I am still finding recipes and making new products so really the sky is the limit!! But take my advice below and start small. You don’t have to do it all today.
Making My First DIY Products
Once you have your priorities for using Essential Oils you can think about the actual products you would like to make. My first three are listed below.
| 1. Essential Oils for Aches and Pains (Roller Ball Bottle) |
| 2. Scouring Powder (for the Kitchen Sink) |
| 3. A natural deodorant. |
Finding the Right Recipe
It didn’t take long to find recipes online for what I wanted to make. In fact, I found that I had too much choice! Where did I find the recipes? Usually on blogs, just like this one, written by people who want to be helpful to others!! So what it came down to in the end was choosing recipes that were well laid out and explained, and had ingredients that I recognised (or could easily find out about).
I found recipes for each of my products and in the first instance I stuck to the recipe as it was. Over time I developed the confidence to tweak a little and for these particular products that I am about to describe, I am happy with the outcome! I have posted my current recipes for these 3 products on my Recipe page but in this post, today I just want to spend some time talking about how I got started.
Gathering the Ingredients and Containers
I think that the sourcing of ingredients was the most difficult part of my DIY with Essential Oils adventure. I would have appreciated some guidance on this and I guess that’s one of the reasons why I am writing these blog posts today!
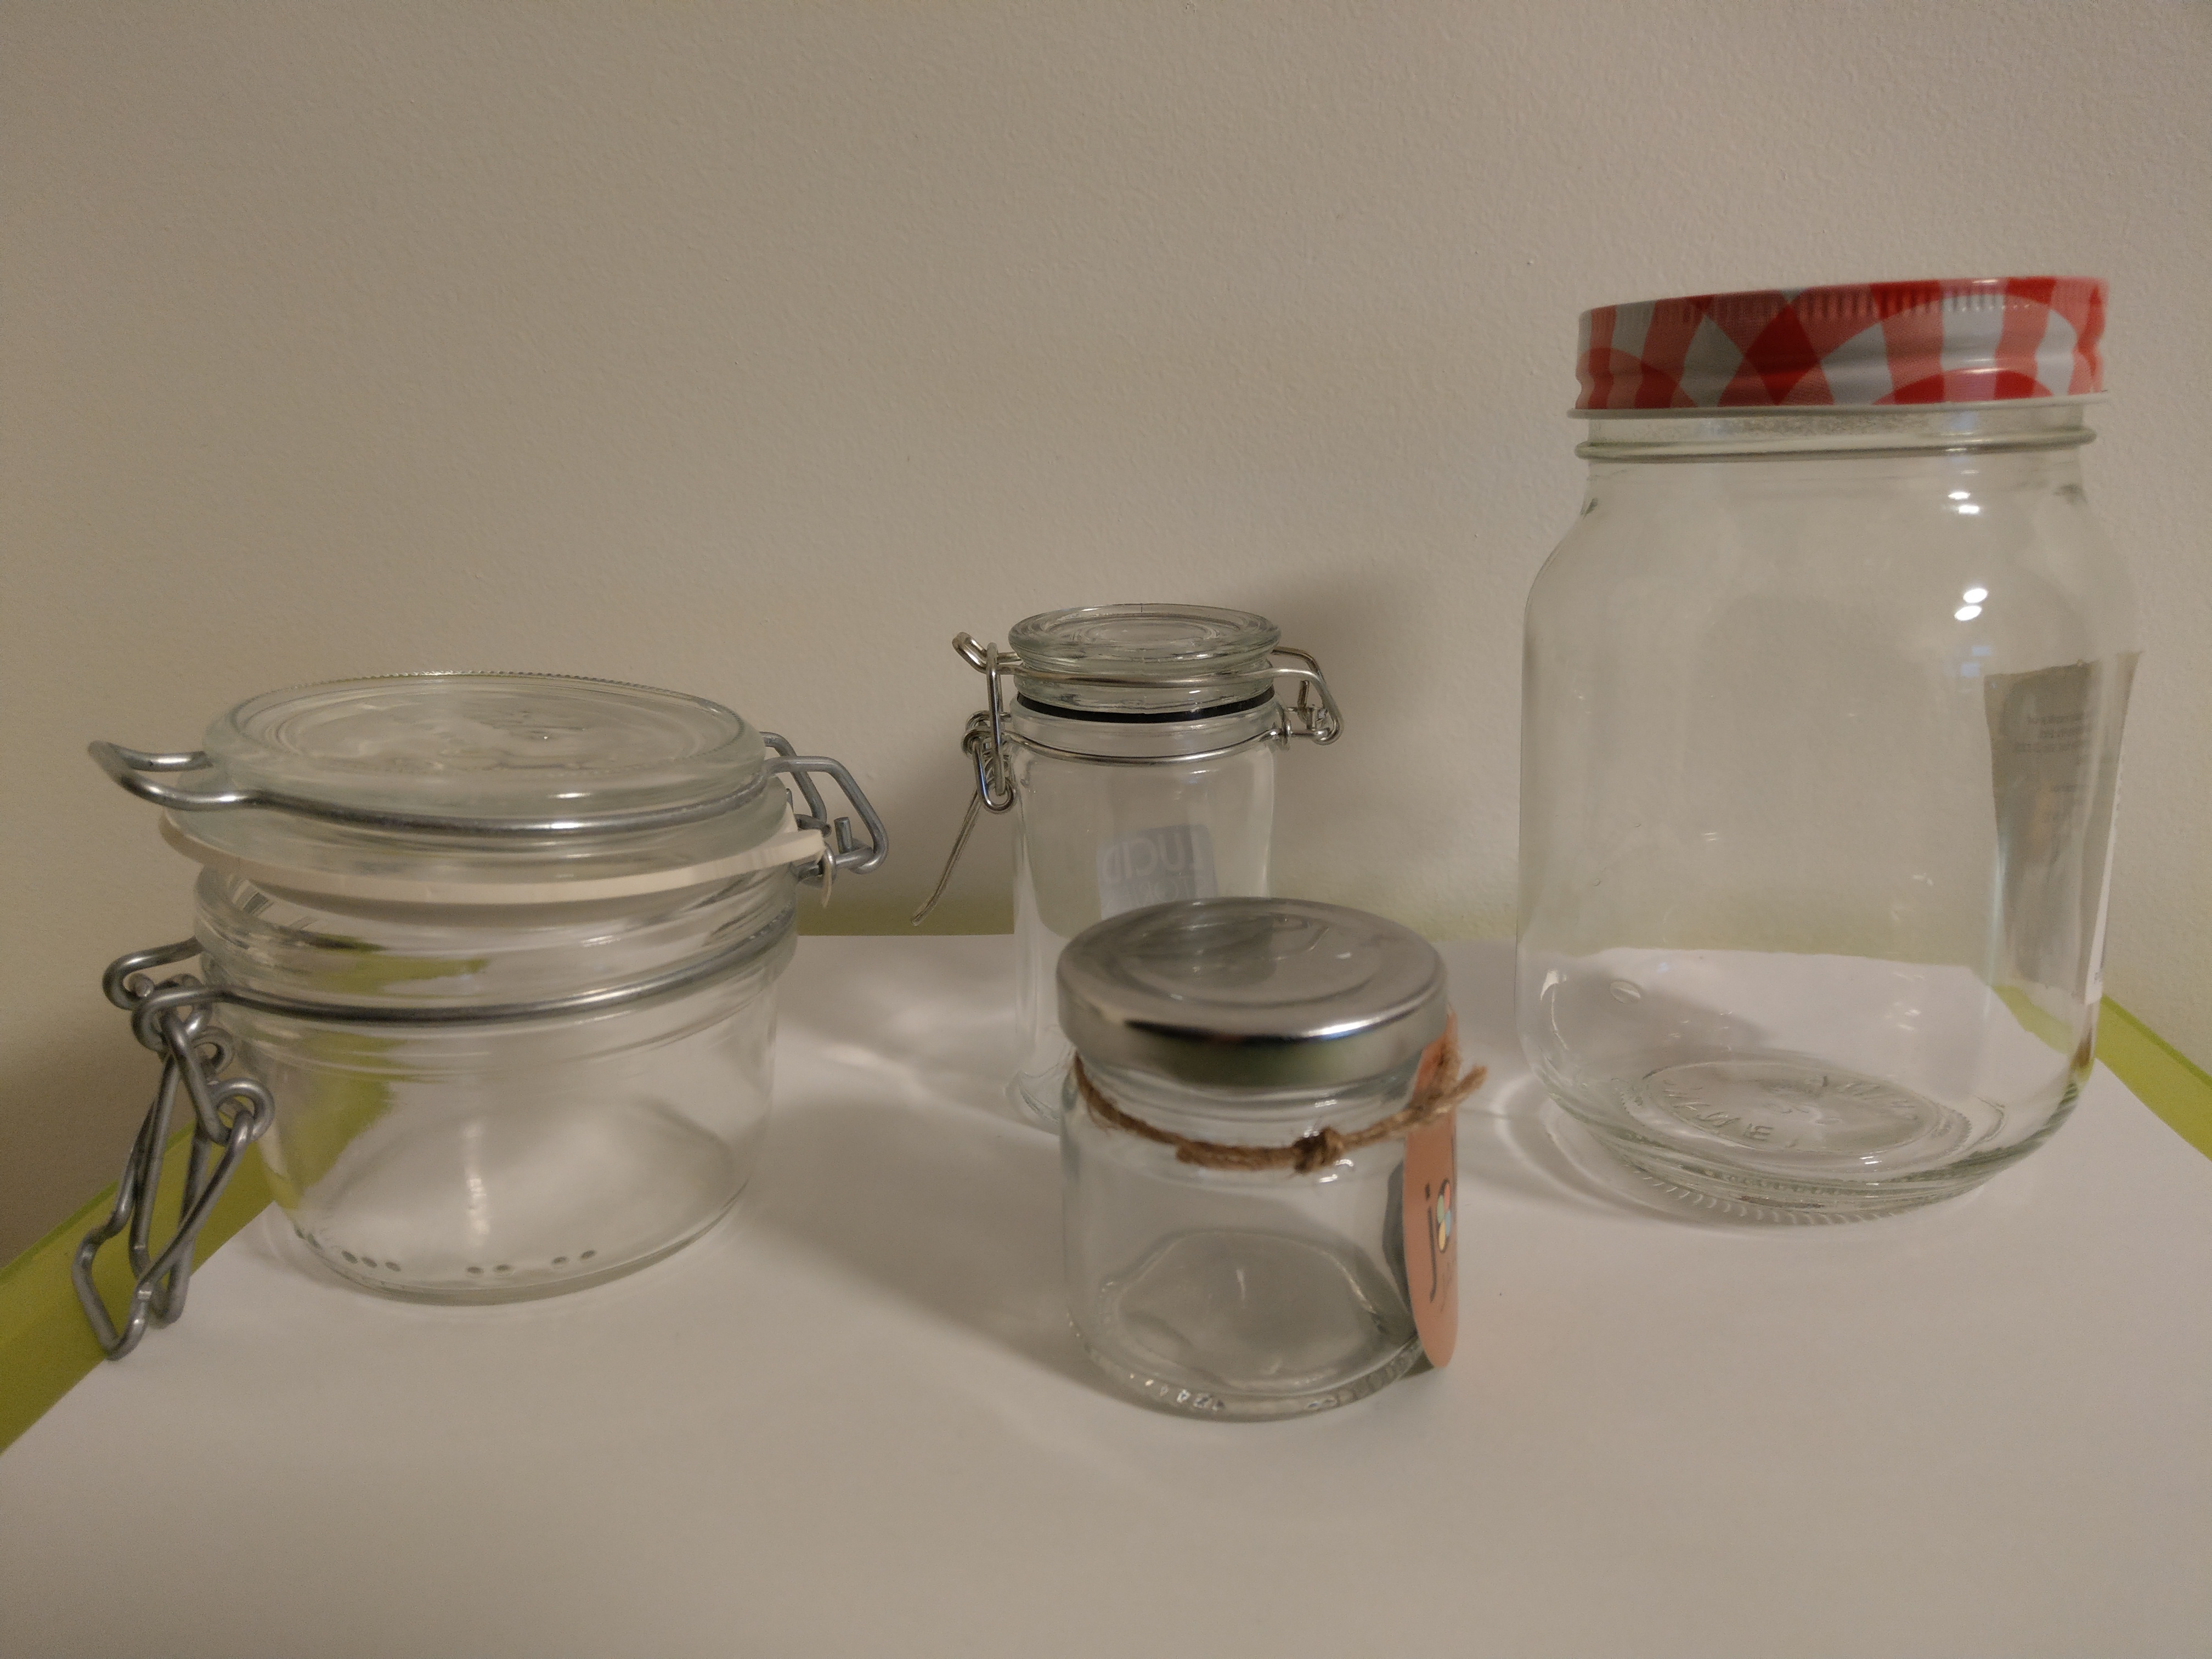
But before I go on to help you with this part of the process I need to say a word about plastic. Plastic is one of the most common ‘toxic’ materials in our houses. One of my priorities was to reduce the number of plastic containers in the house. It is also highly recommended to store Essential Oils and products containing oils in glass containers.
So that means that even though you might have empty or almost empty plastic containers sitting around your house e.g. dish washing liquid bottles, it is not ideal to use these for your new, low tox products. It is also best to store Essential Oils away from direct light so dark coloured glass storage bottles are best.
Another thing I want to say here is that labelling what you make is very important for safety reasons. Don’t assume that you will remember what you put in a bottle or a jar. Trust me, you won’t!
Sourcing Strategy
But back to the approach to get all this together. I have given it a lot of thought and have come up with a strategy that could help you.
Step 1: List the ingredients you will need for each product.
Step 2: Separate out all the ingredients you can source from a supermarket, health food store, chemist or hardware store.
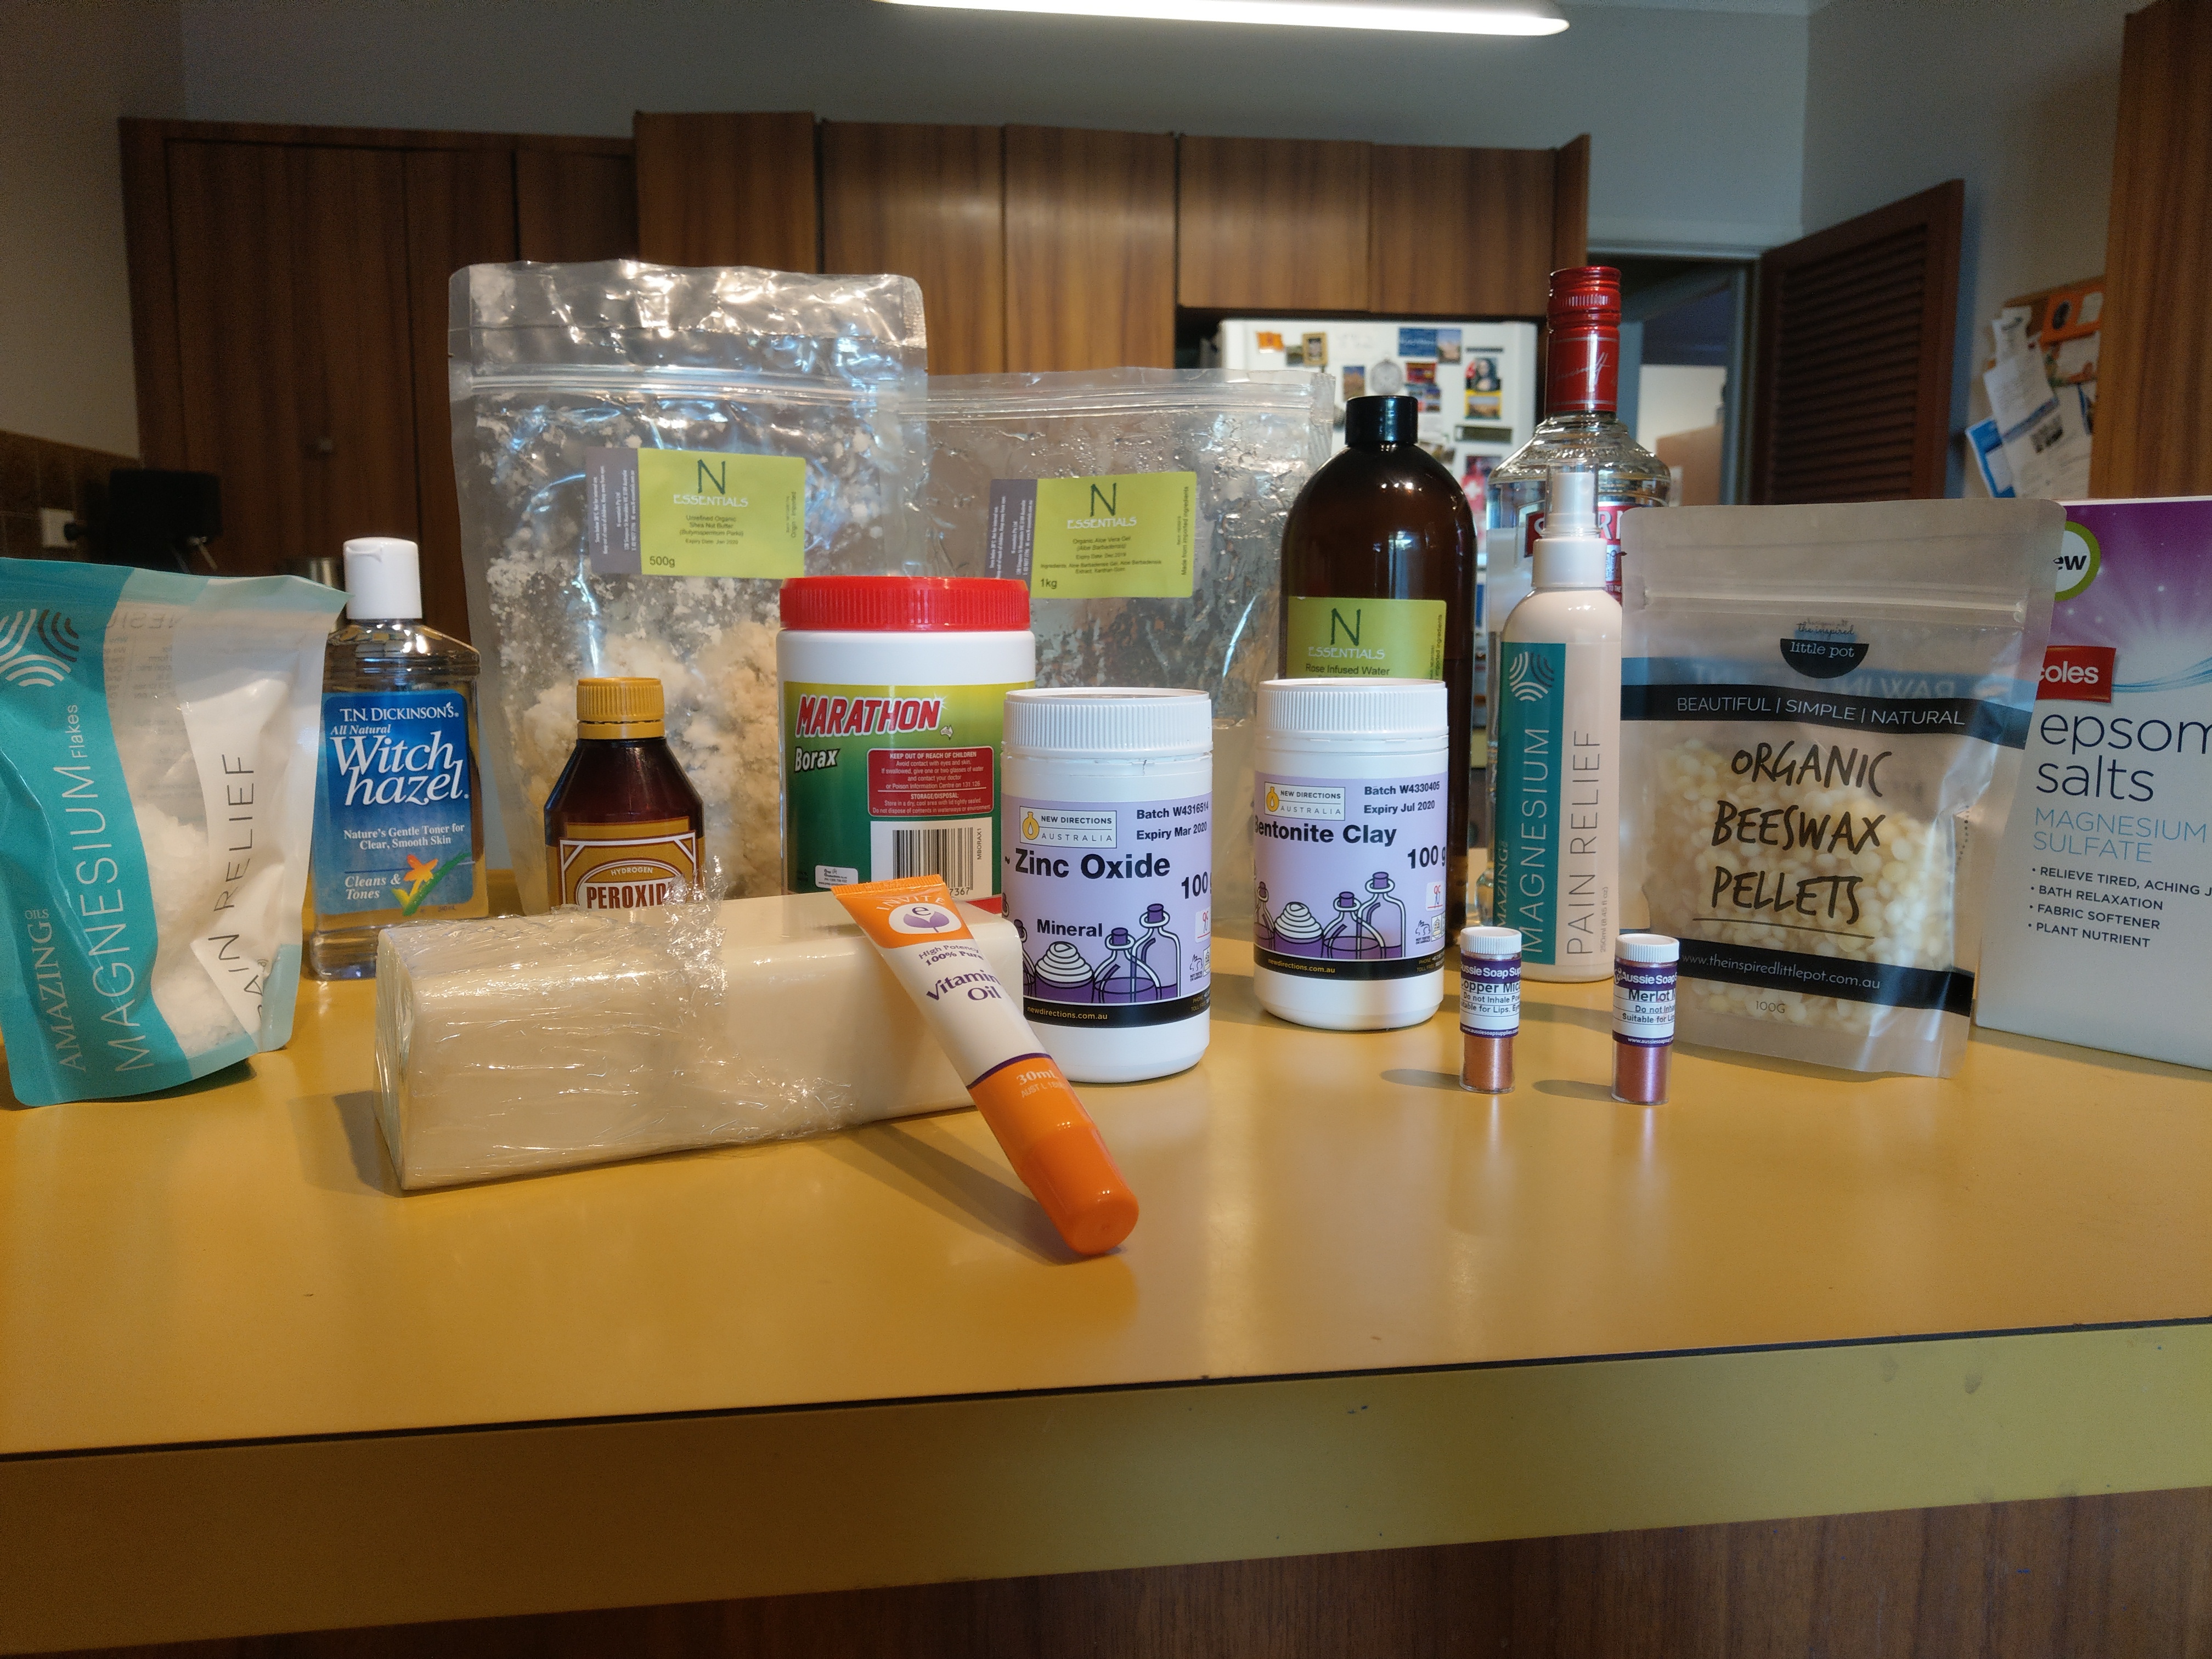
Step 3: Make a list of the other ingredients and search online to find suppliers.
Step 4: Decide how you would like your products to be packaged and make two lists as you did for ingredients i.e. what can you find in your cupboards or buy from a supermarket etc and what packaging do you need to source elsewhere?
Step 5: Work out how much of each ingredient you need and how many containers you plan to use and find out if the suppliers will sell small numbers.(I started with small amounts – perhaps I should have gone for larger amounts- I just wasn’t sure how this was all going to work!!)
Step 6: Ask for advice on suitable suppliers and try recommended ones first.
Step 7: Check postage costs and maximise the number of products you purchase from a single supplier to minimise postage.
Step 8: Use a spreadsheet to list your suppliers, what they supply, costs and postage. You might also like to record time for delivery and quality of products and services. This way you can choose which supplier to go to next time you need to stock up.
We have developed a spreadsheet and you are welcome to use it too. Subscribe to our email list and let us know if you are interested in receiving the spreadsheet and we will send it to you.
The best way to demonstrate how this works is by apply it to some real recipes. I will take you through the preparation for my 3 products.
Applying the Strategy
Essential Oils for Aches and Pains (Roller Ball Bottle)
This is the simplest example from an ingredient and container point of view because all of the ingredients can be sourced from doTERRA. The recipe itself is also flexible because it is simply a mix if oils that are beneficial for soothing and warming muscles. When you do your research you will find that there are quite a few oils that can be helpful.
Ingredients:
I used Frankincense, Lemongrass, Copaiba and soothing blue blend oils. You should look them up and find out why I included these! They are all amazing oils with a range of beneficial properties.
I also used Fractionated Coconut Oil (FCO) as a carrier oil to dilute my mix.
Containers:
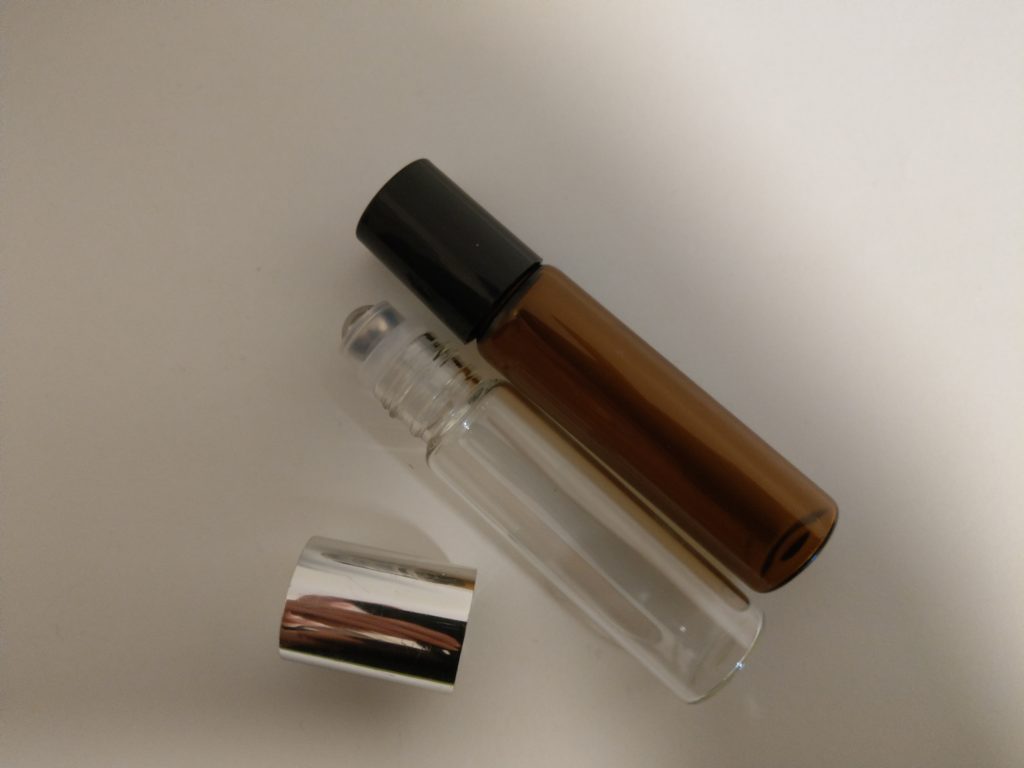
I needed a Roller ball + Bottle. For this one I asked a friend and was pointed to a company called New Directions. They provide a range of ingredients and packaging for cosmetics and aromatherapy products as well as a range of skin care products. I discovered that I could buy clear bottles and coloured bottles with roller balls that would be perfect for my little project. I could also purchase a few bottles at one time. I only bought a few and regretted it later. I soon discovered that Roller balls + bottles are very handy when you are working with Essential Oils. It is almost always recommended to dilute your oils with a carrier oil like FCO when using on your skin so you will find yourself needing these little bottles all the time.
Note: There are many other suppliers of containers.
Labels:
For my roller balls I just added the doTERRA Stickers to the outside of the bottle to tell me what was inside.
A Scouring Powder (for the Kitchen Sink)
This second product was also quite easy, although I didn’t really know what washing soda was or where to find it when I first read the recipe.
Ingredients:
Baking soda, washing soda, cream of tartar, Lemon Essential Oil.
Applying the strategy-I asked what ingredients I could buy from the supermarket? Answer:The first three. Although, not all supermarkets will stock Washing Soda- you might need the hardware. The oil is of course available from doTERRA!
Containers:

What I wanted for this was something like a spice jar with holes on top and an airtight cap. I looked in the supermarket and at my newly found supplier of containers but couldn’t find anything suitable. I found one in the end in a kitchen shop. The ‘shaker’ is stainless steel and probably meant for Parmesan Cheese but it works well for my Scouring Powder.
Labels:
In the early days I used a marking pen or printed off paper labels and stuck them on with contact. Now I use stickers and cover them with contact if they are likely to get wet.
A Natural Deodorant
This final product was a bit scary to try. All sorts of doubts enter your mind when you think about homemade deodorant – will it work, will I smell, will other people notice? I was also a bit nervous about some of the ingredients as I had never used them before. But as they say ‘nothing ventured, nothing gained’! I actually started off with a recipe from the Inspired Little Pot website ( a lovely site to check out for recipes and ideas!). Let’s look at the basic ingredients and work out how they can be sourced.
Ingredients:
Coconut oil ( the solid type), Baking soda, Arrowroot flour, Shea Butter, beeswax, essential oils
Once again, applying my strategy I asked the question, what can I buy from the supermarket? Answer: the first three ingredients are supermarket items. I already had them in my cupboard so that was easy.
The next two ingredients, Shea Butter and Beeswax, were a bit puzzling at first. But, I found that both of my suppliers i.e. New Directions and the Inspired Little Pot stocked both of these ingredients.
Containers:
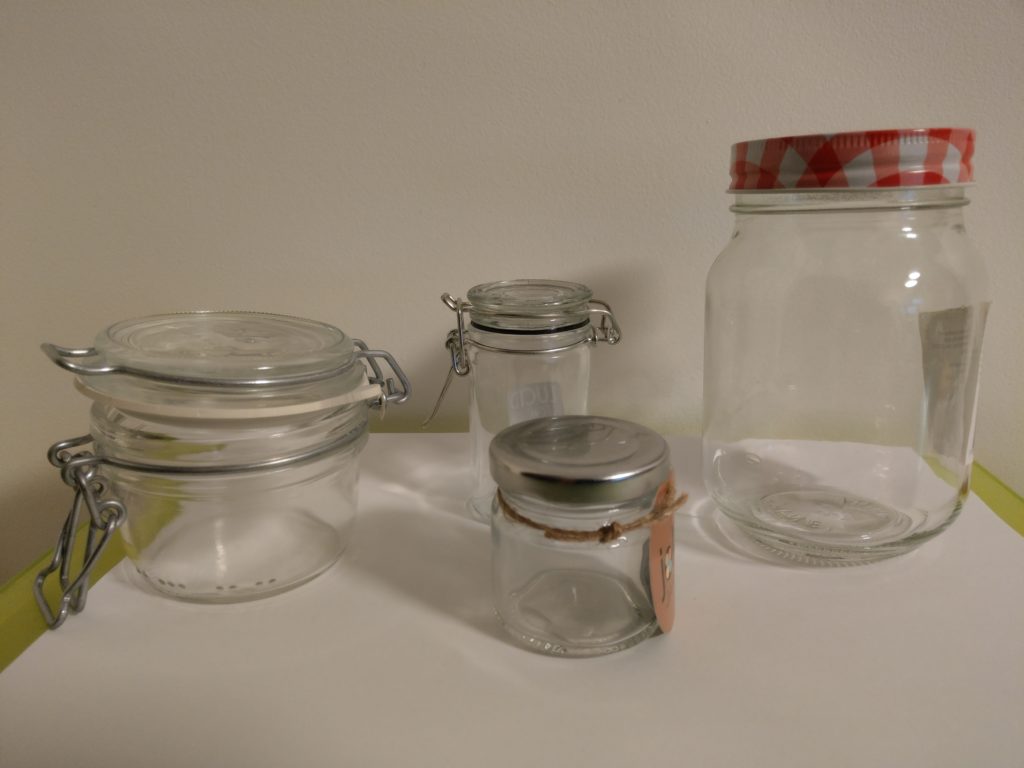
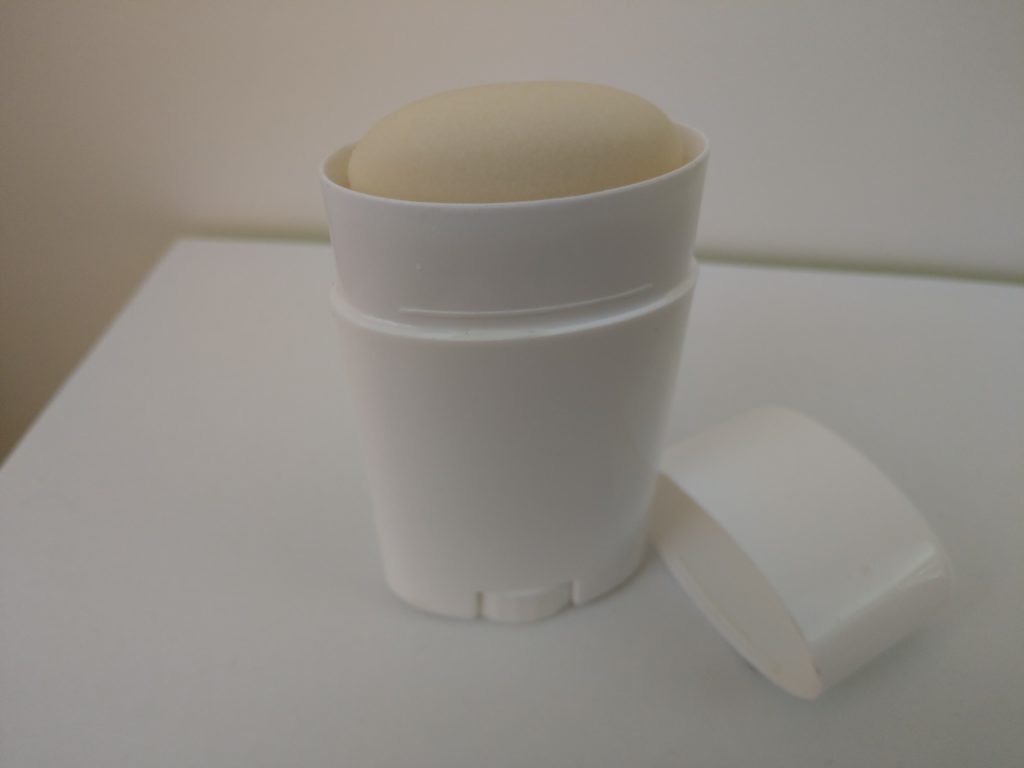
The original recipe called for a glass jar. The deodorant is a balm that can be applied with a finger or a small spatula. So I thought a wide mouth jar would do. You can actually find these jars in the supermarket. Some have screw caps and some rubber seals and clips. Or of course you can just recycle a glass jar from your kitchen. I now buy a twist-top deodorant dispenser that I purchase from New Directions. It is plastic but it means that Andrew feels comfortable using it too. I won’t go into the details, but the use of a balm did not appeal to him!
Labels:
Once again the Inspired Little Pot can supply the labels.
So there you have it!
But its not the end. It’s a good idea to think about how you will restock your basic ingredients over time. Obviously you can add some of your ingredients to the weekly shopping list. But you don’t want to be ordering other ingredients online every week. That’s why I suggested the spreadsheet so you can keep track of who sells what and keep a check on all of your stock levels to that you maximise what you buy on one order at any one time i.e. to reduce postage costs.
What Next?
Are you keen to get started? Why not go my doTERRA website to find out about the range of oils to use in your DIY products. You can also sign up to become a member on this site. Once signed up you can purchase oils for wholesale prices! But if you would like some more information click on the Contact Me on the doTERRA website and I will respond to your questions.
We hope you will also join us at Helpful by Nature by subscribing to our email list. We would love to hear from you, take your questions and provide answers if we are able.

Until next time,
Gillian (and Andrew)

