
It is so easy to make your own Homemade Christmas Gifts for friends and family. I often make Christmas treats to eat. This year I am branching out and making a range of practical beauty products. We are on a path towards reducing waste in our household as well as reducing the amount of toxic chemicals we are exposed to, so I have become quite creative in the area of personal health and beauty products.
So lets get started. This post is all about making your own Makeup Remover Pads that can be re-used.
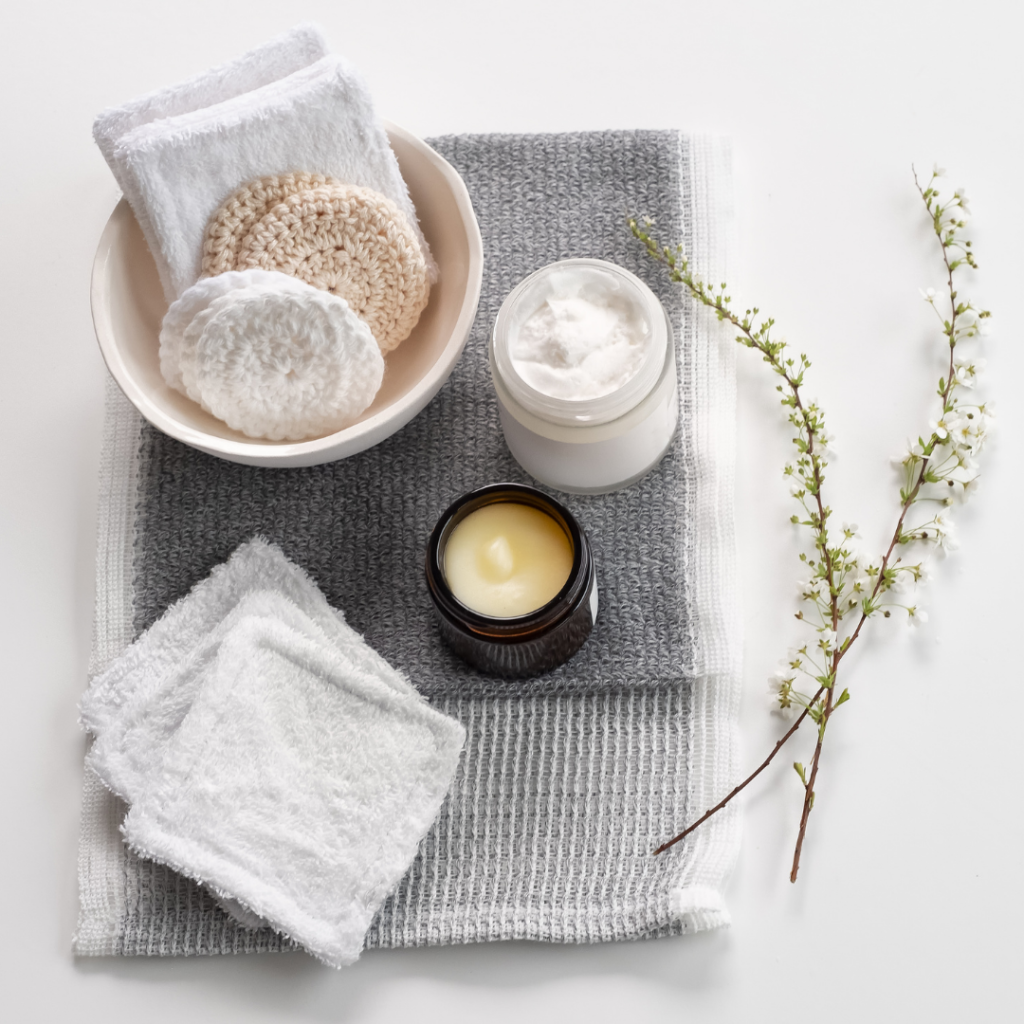
There are a number of ways to make these – some with material sandwiched with wadding and others with towel. I opted for the toweling ones as they are very simple and require very little sewing!
Are you a sewer? Do you have a stash of materials in the cupboard that you have kept for a rainy day but that rainy day has not yet arrived? Well it has come today!
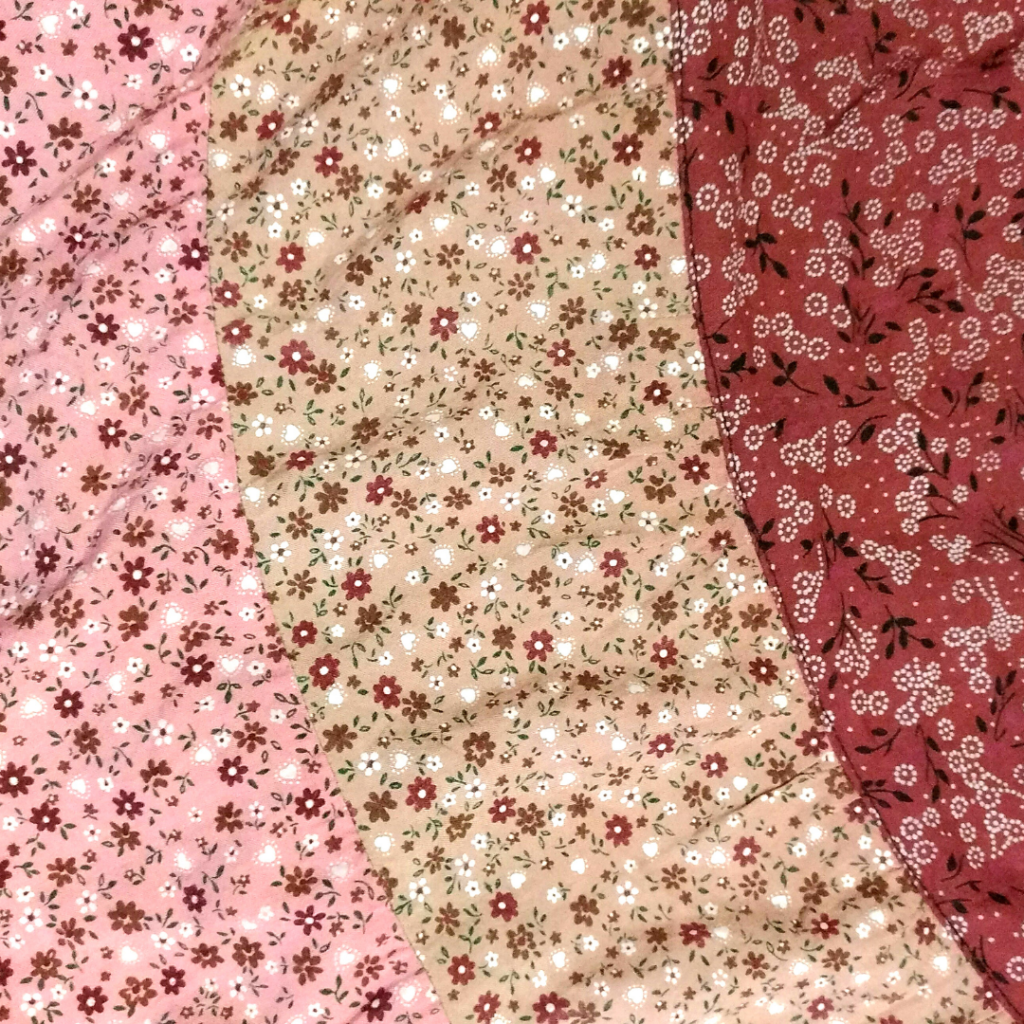
I have collected bits and pieces of materials over the years and this year I have been making masks so I am left with lots of ends that I could not throw away. So I am excited to find a project that will use up the scraps!
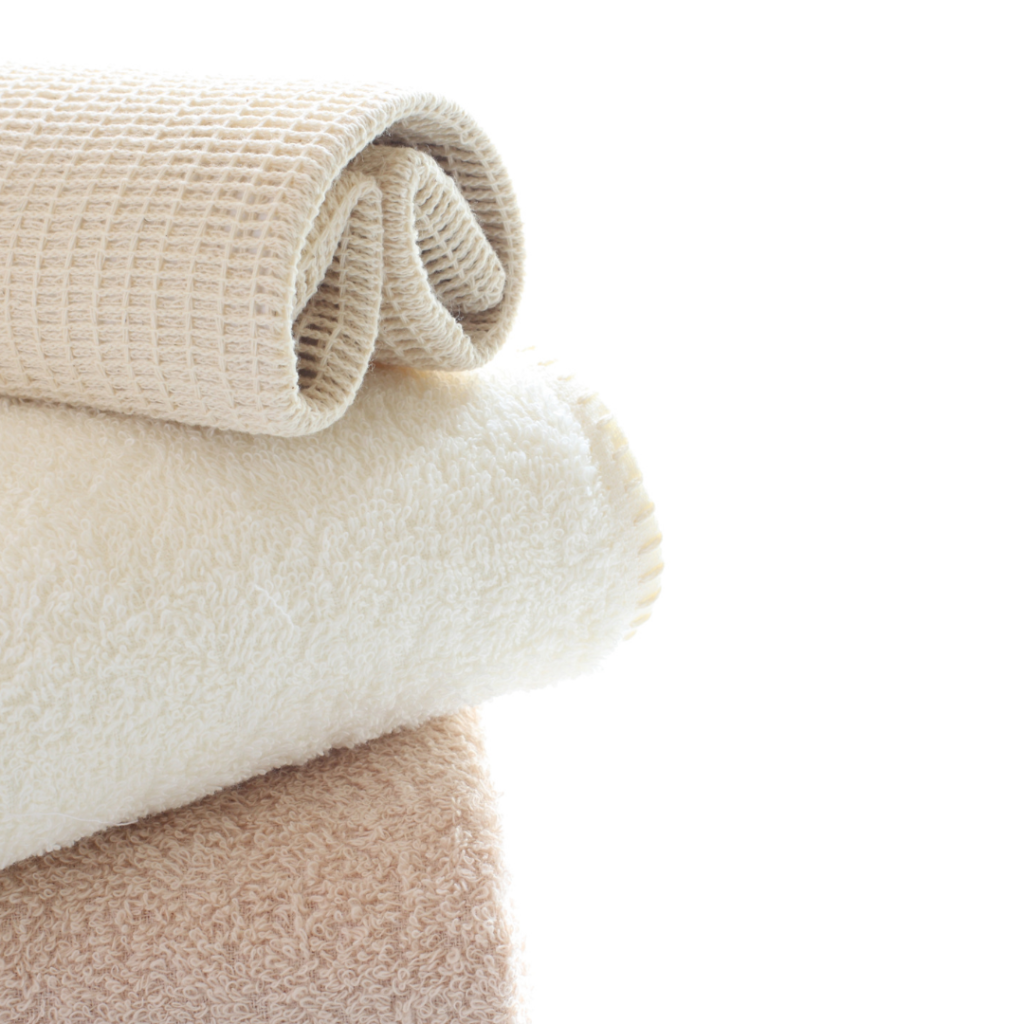
You will also need toweling for this project. I just happened to have some left over from a beach poncho I made a few weeks ago but you could also just buy some cheap towels or hand towels and they will do the job. I was able to buy two hand towels for $4 and I now have plenty of toweling to make 50-100 pads.
You will need:
Scraps of pretty material
Toweling
A piece of cardboard ( to make a template)
A pen
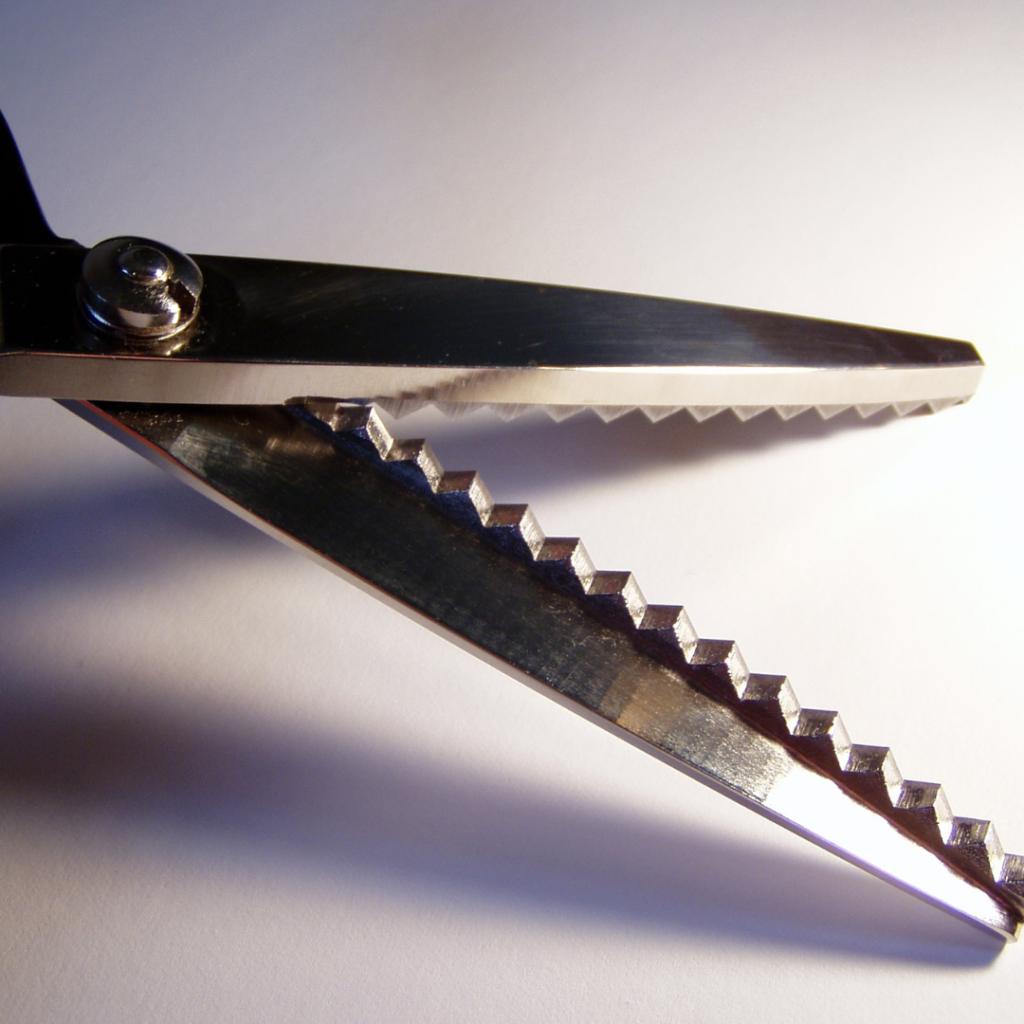
A pair of dressmaking scissors and a pair of pinking shears
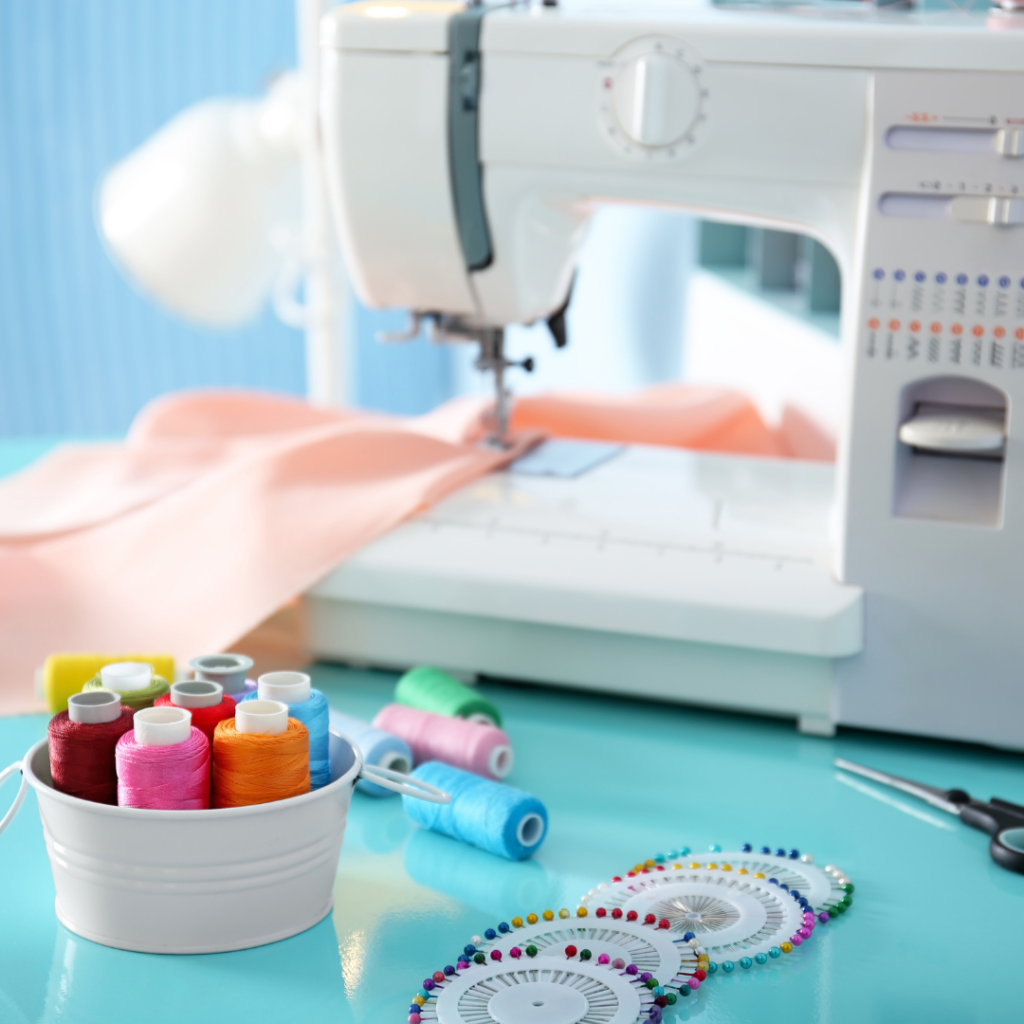
A sewing machine and thread.
Method:
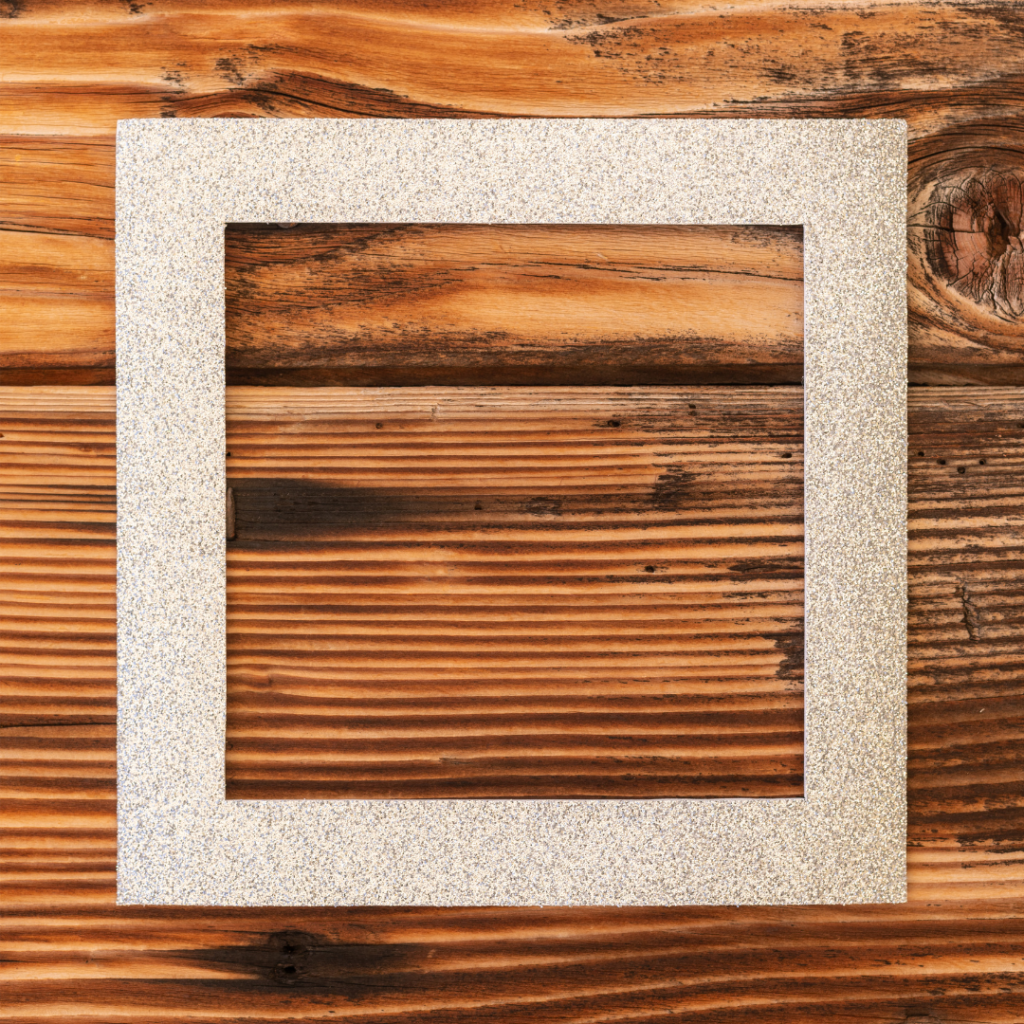
Cut out a template 5cm x 5 cm square.
Lay the material onto the toweling and pin. Trim any strange shaped pieces of material ( if you are using scraps) so that you lay down a square or rectangle of material. This is for neatness and to minimise waste of the towel.
Trace around the template with a pen so that the square is marked onto the right side of the material. Make sure there is enough room between the squares so you can use the pinking shears on each square to finish off the edges.
Sew around each side of each square.
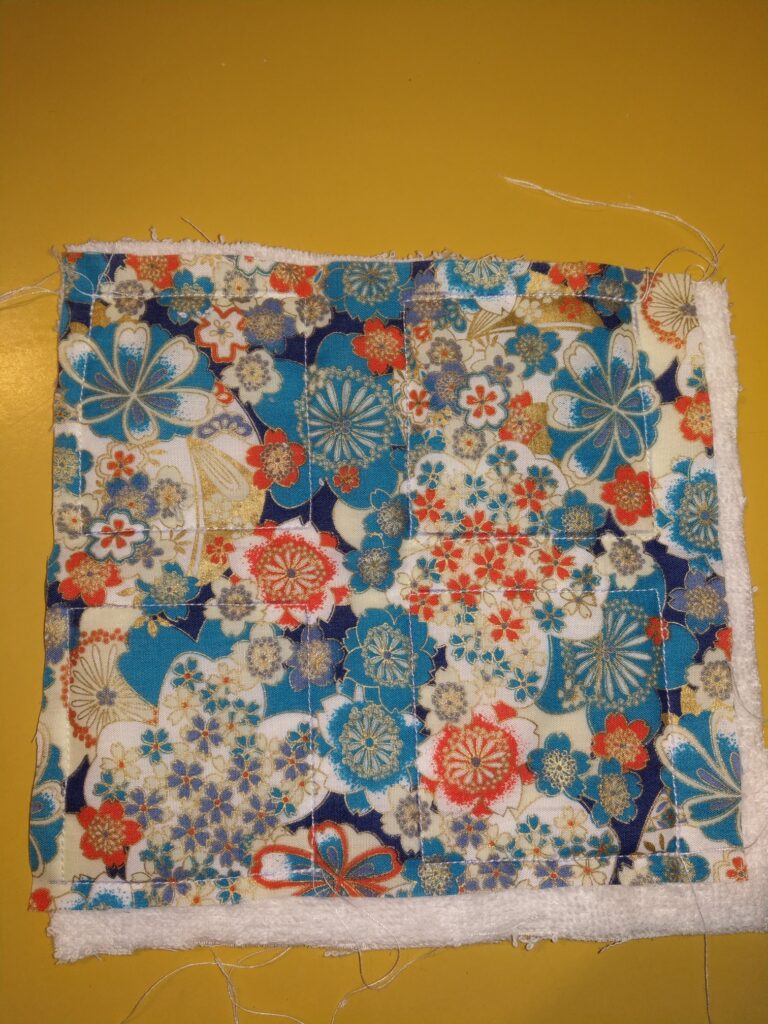
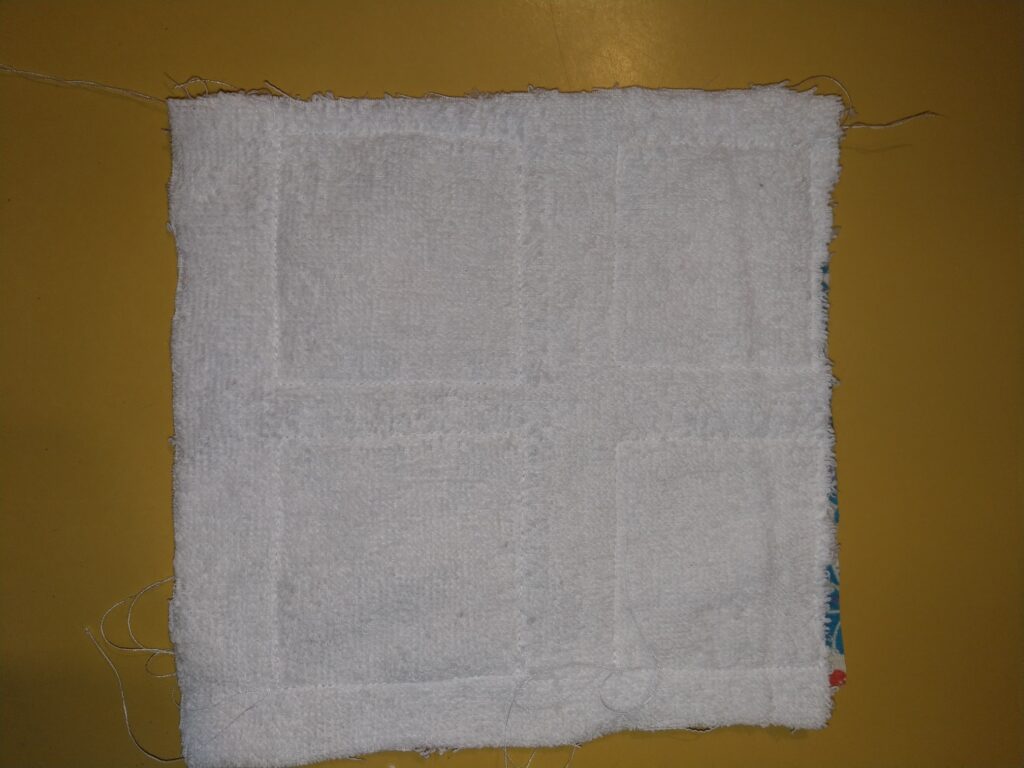
Using the pinking shears, cut around the edges of each square, just outside the sewing line.
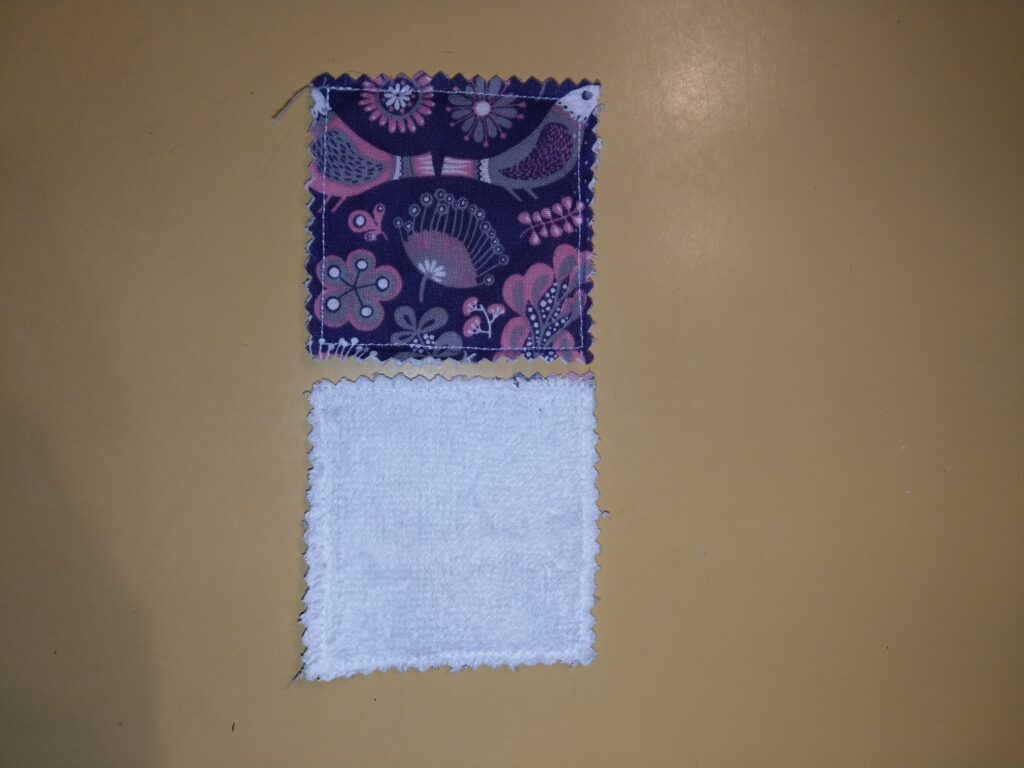
You are done!
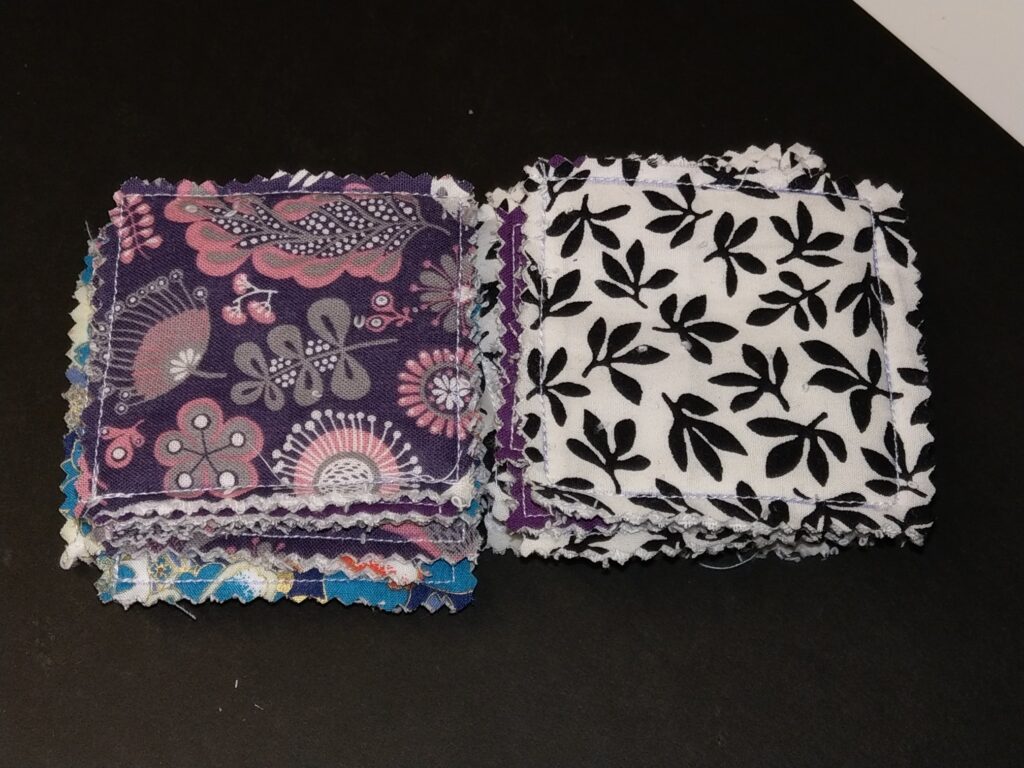
What Next?
We hope you will join us at Helpful by Nature by subscribing to our email list. We would love to hear from you, take your questions and provide answers if we are able.
Until next time,

Gillian (and Andrew)

